• Category Archives Chevy II Nova
  • SBC Intake replacement, redux.

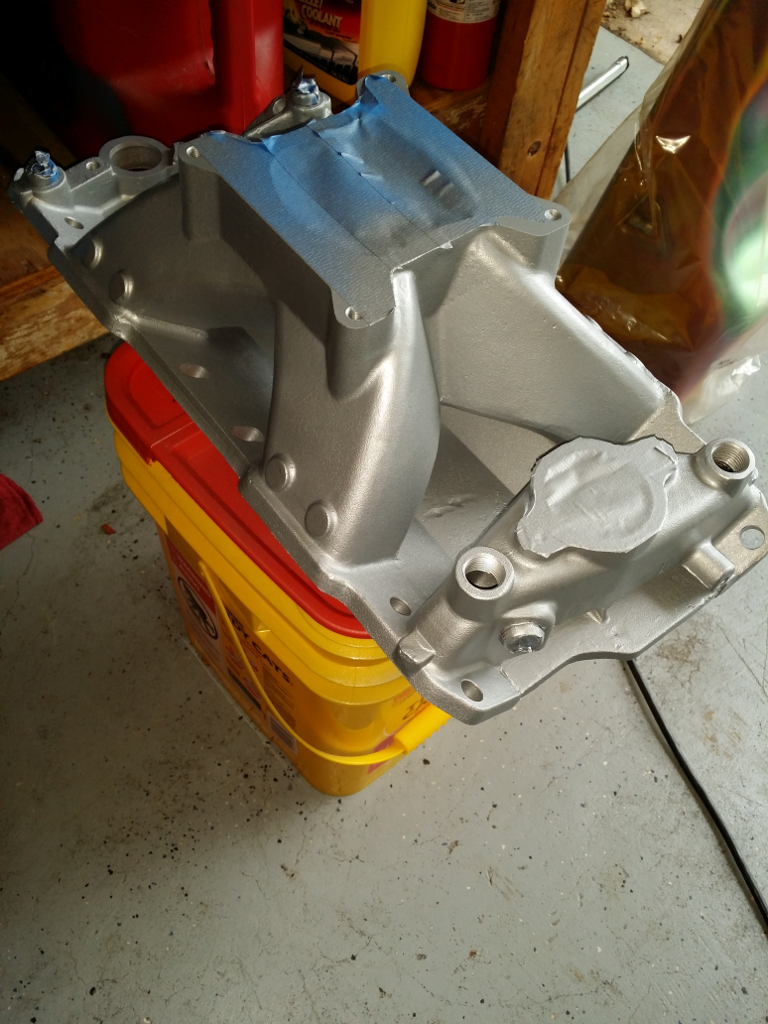
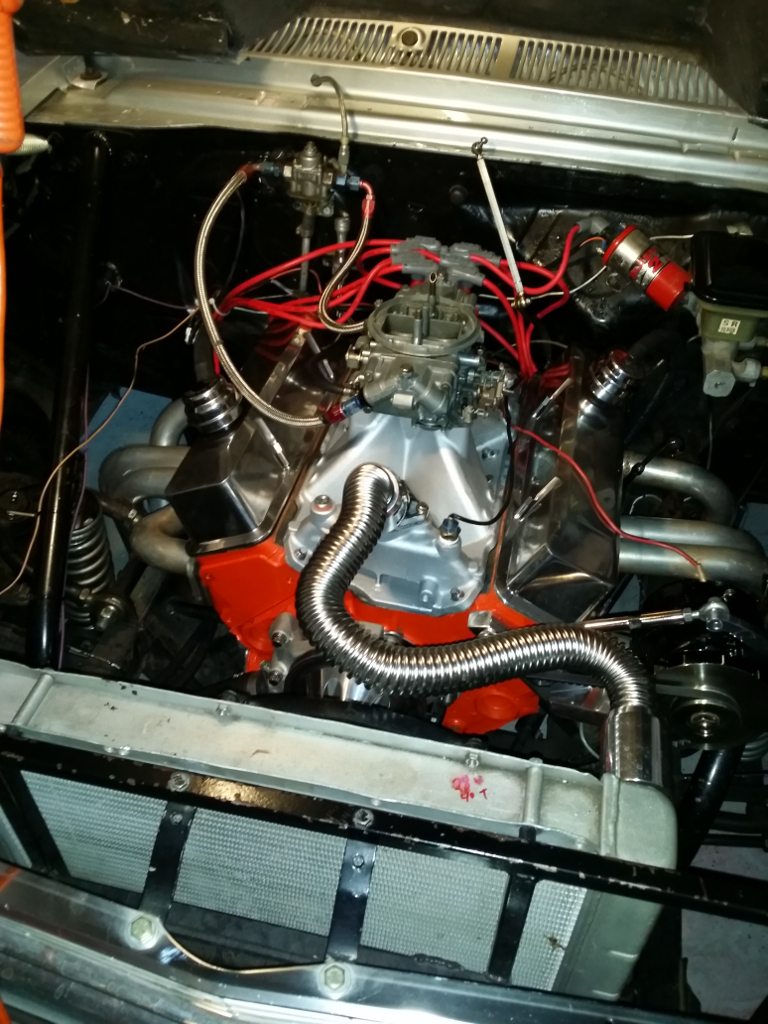
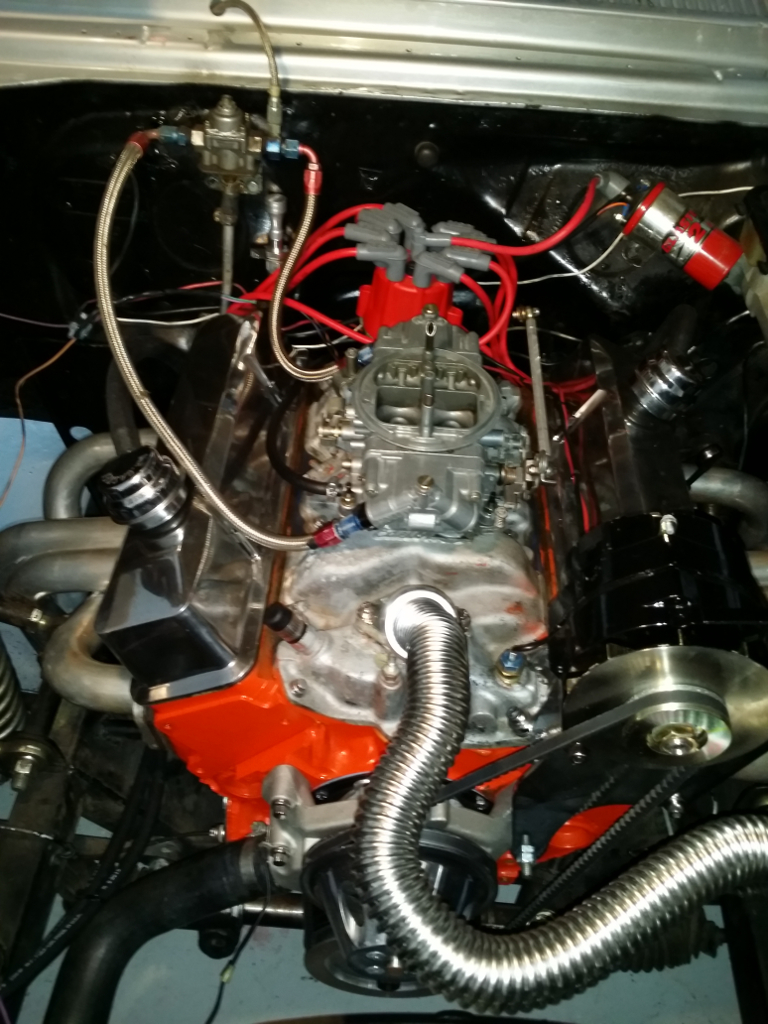
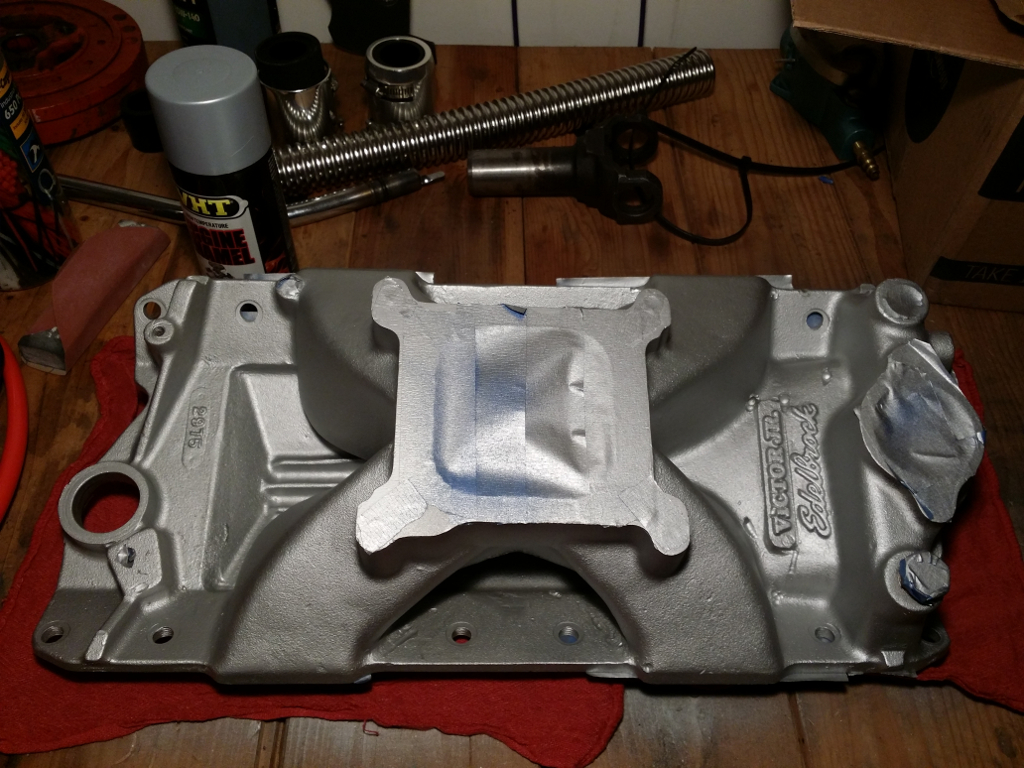
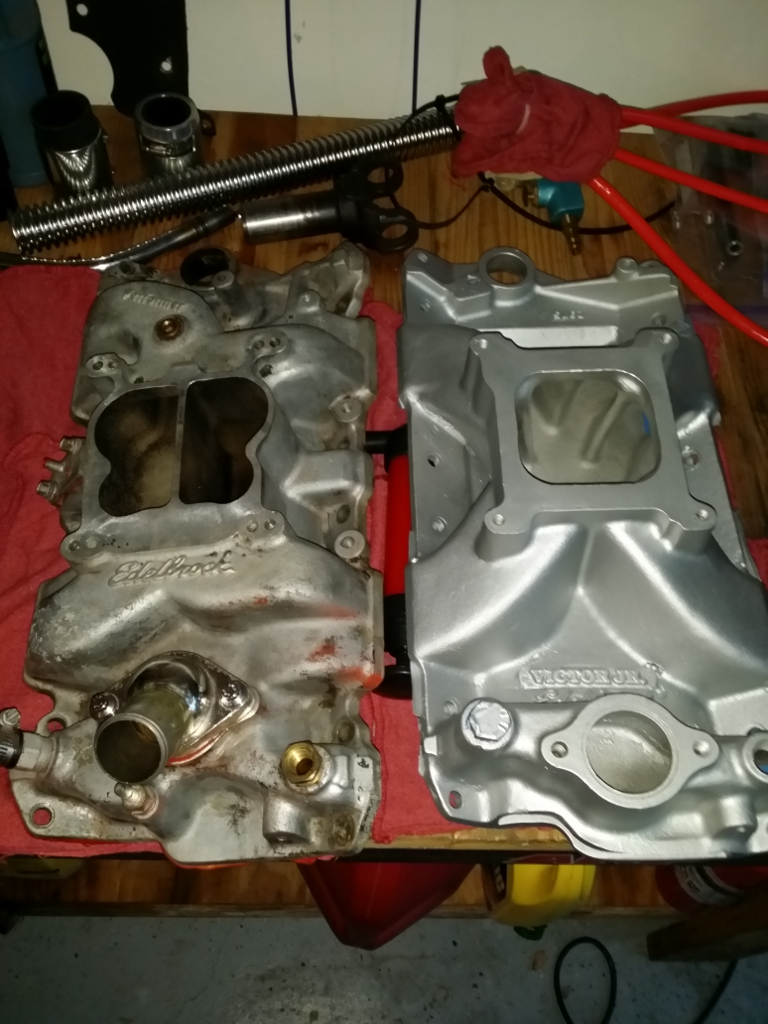
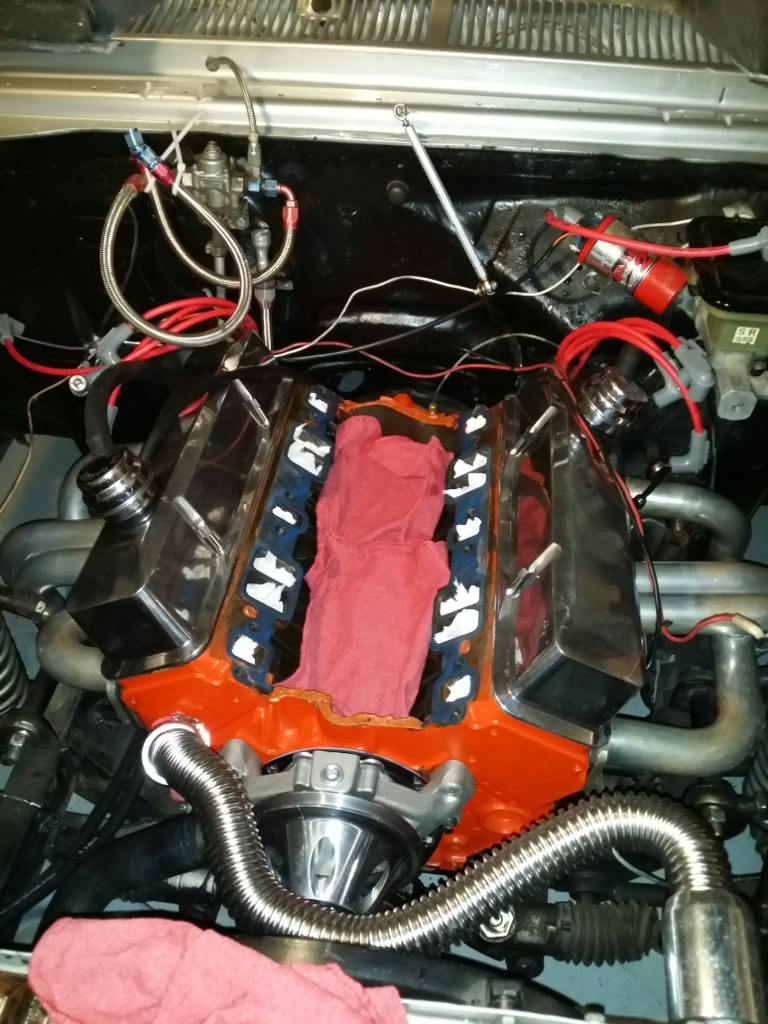
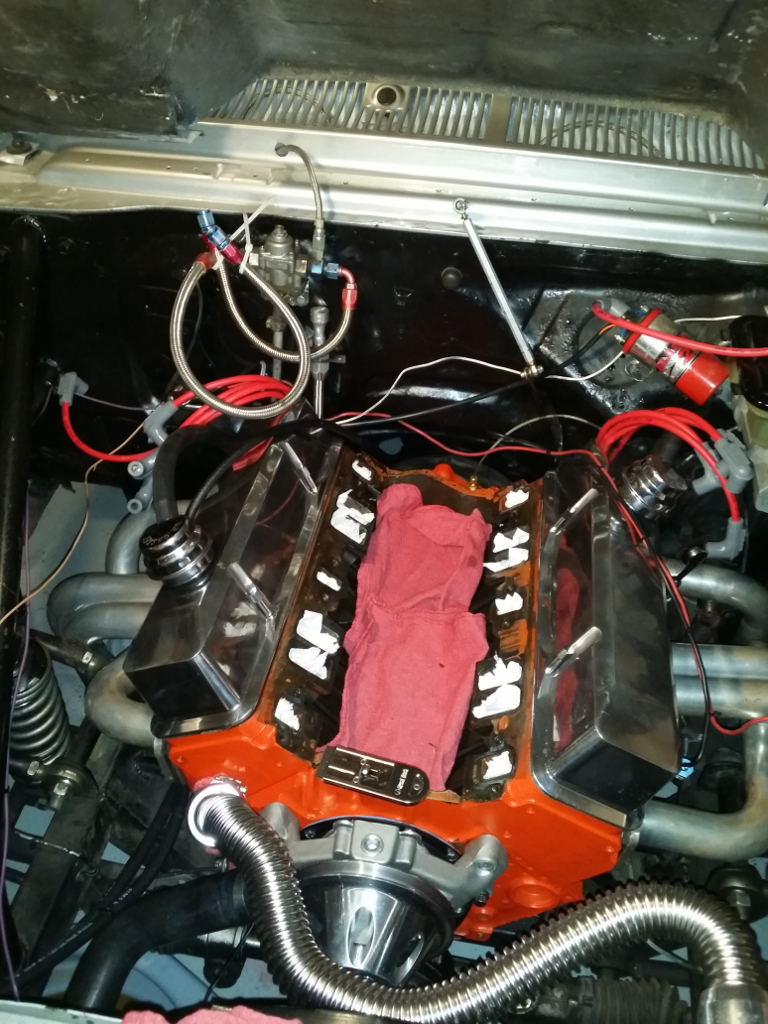
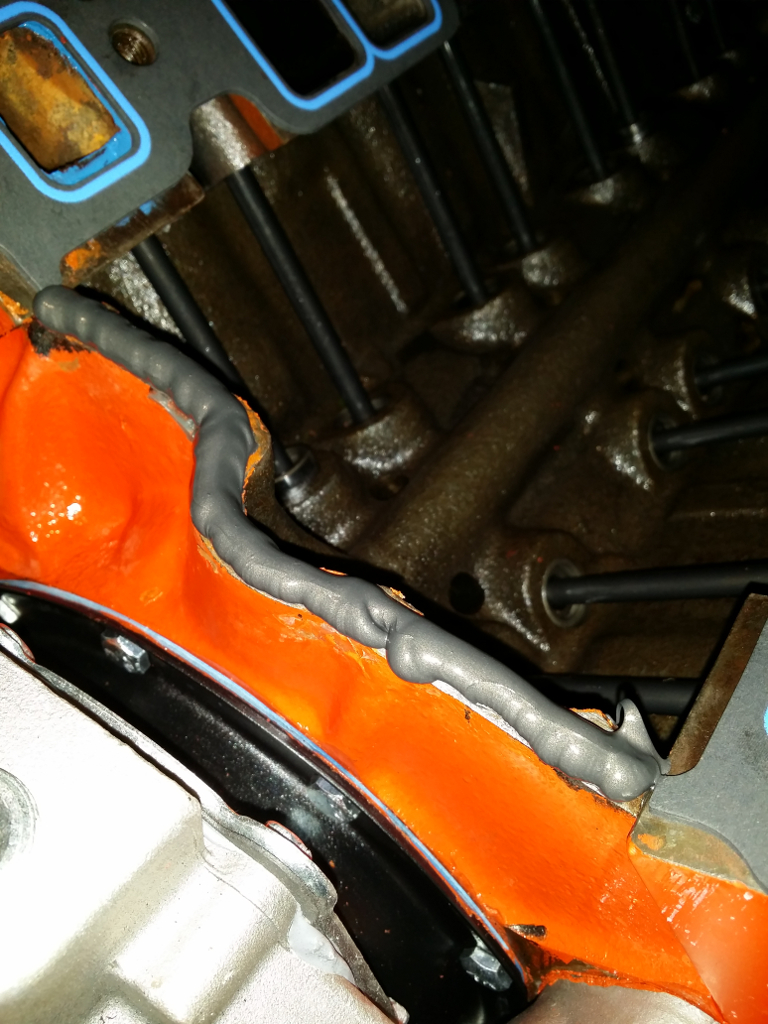
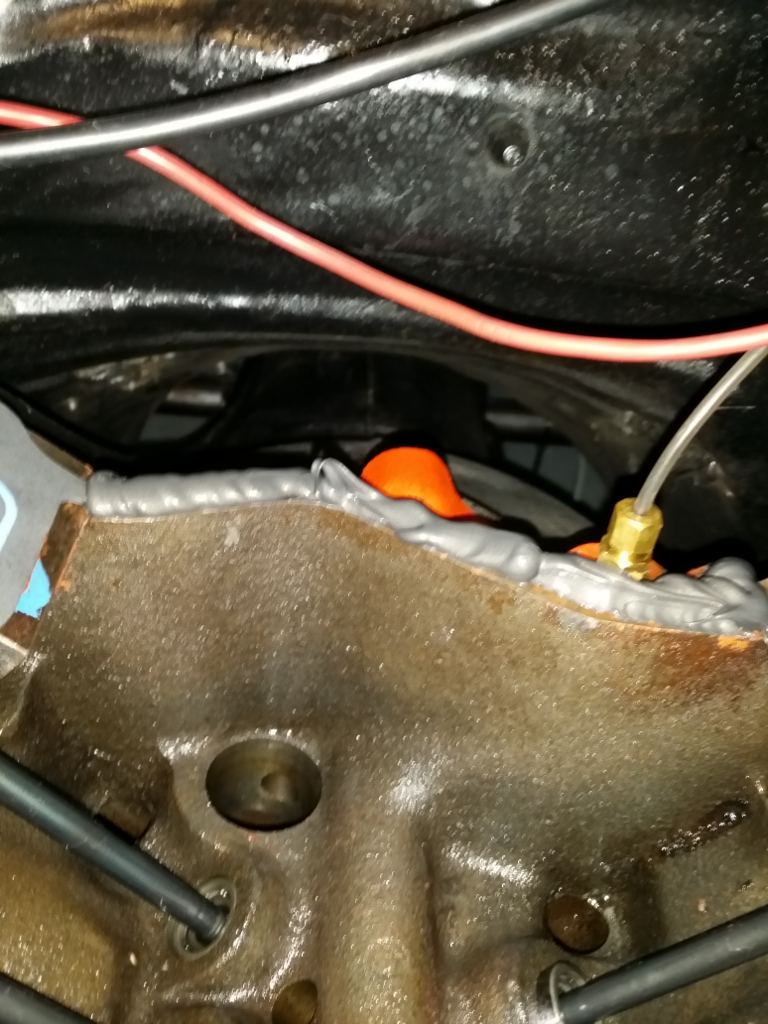
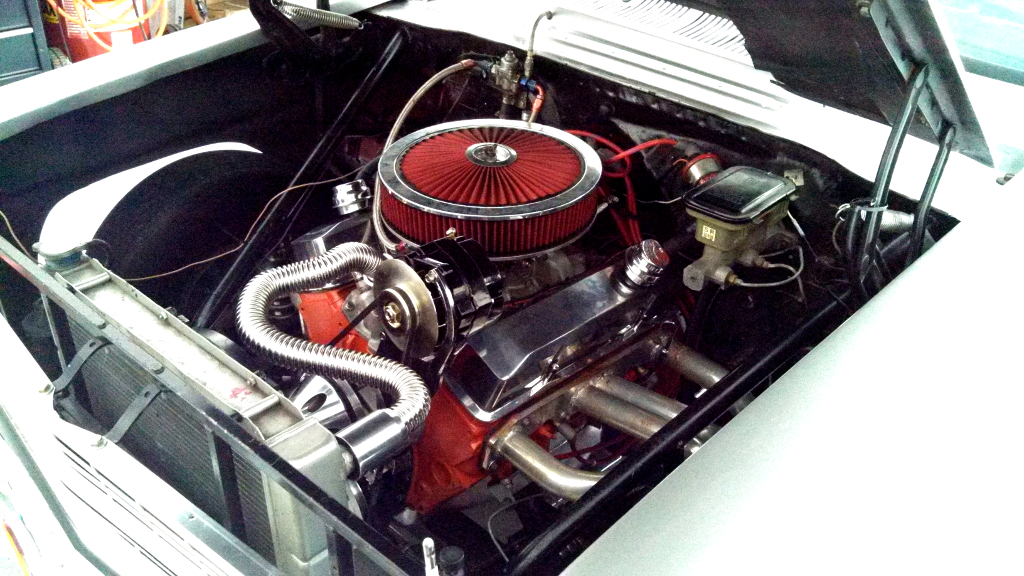
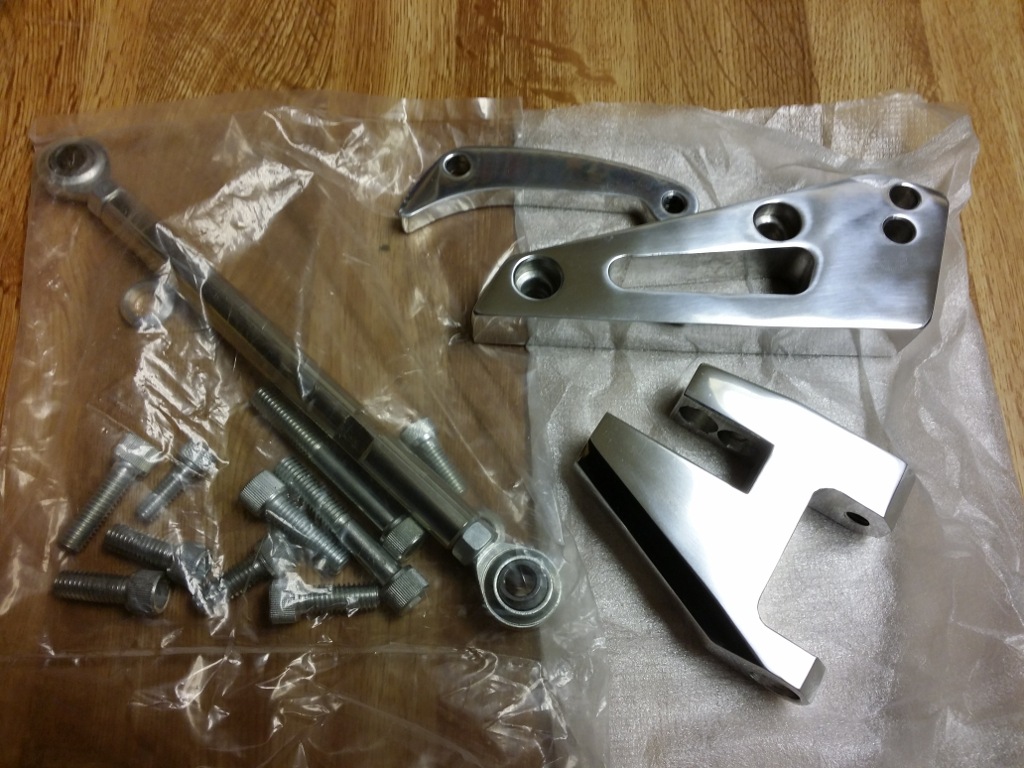
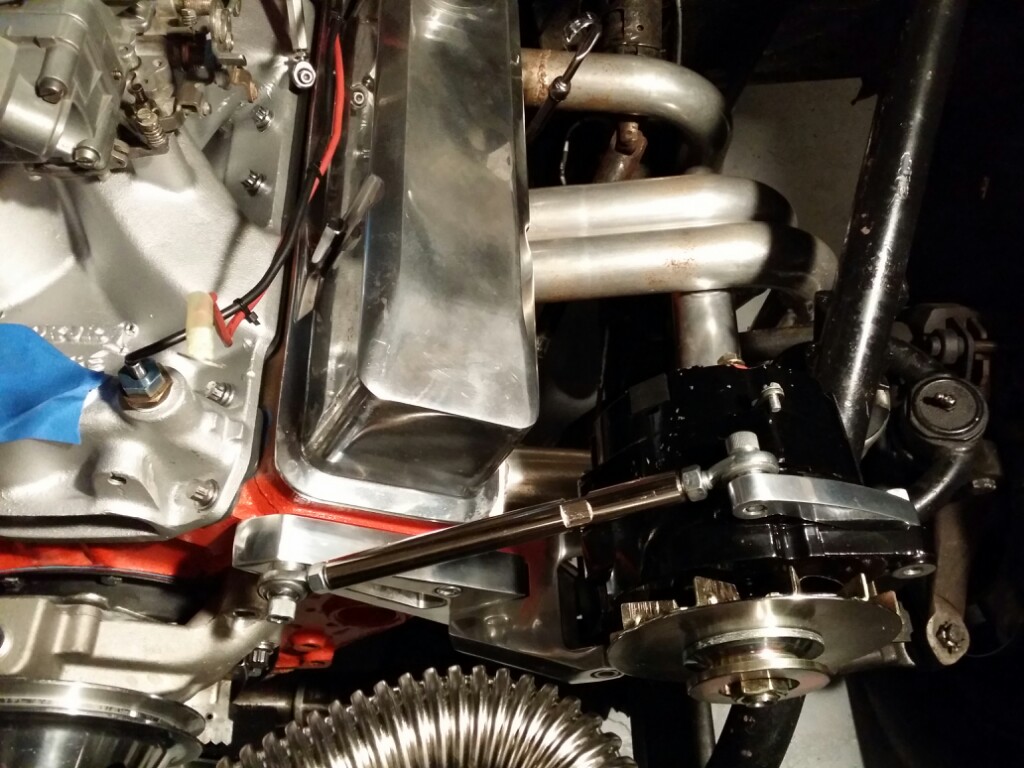
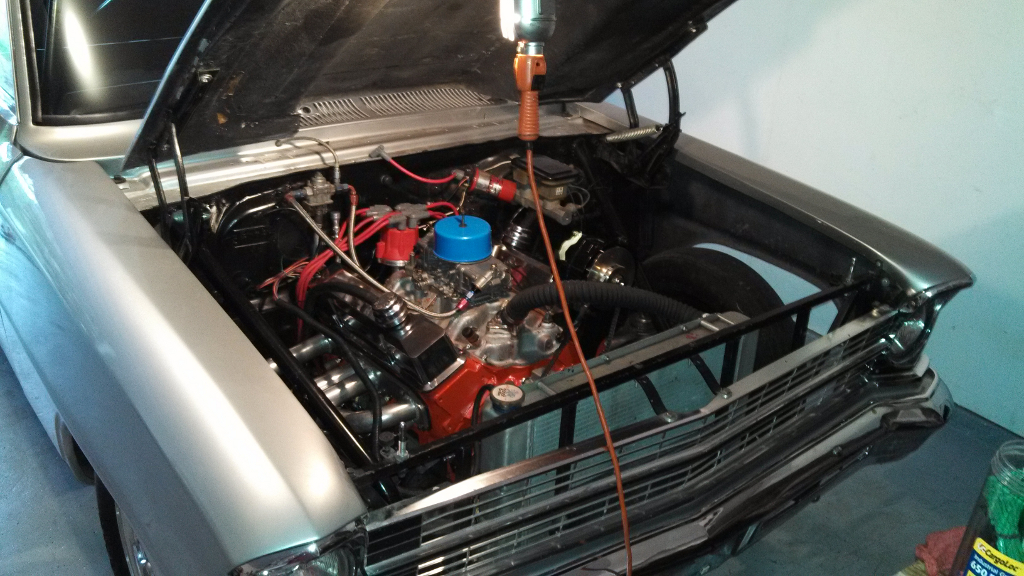
    Well…in my previous post where I swapped intakes, I had a small leak around the water ports.   Tried it twice.   After looking at it and heading to my local machine shop, Kendrick Automotive, the determination was made that the intake was milled.  It was noticeable after comparing it to another Victor Jr..  It could have been used anyway by utilizing thicker intake gaskets.   While I was there at Kendrick Auto, they have a new and used parts section where Tommy directed me to a ProComp intake, pictured below.  It is essentially a clone of a Super Victor intake from Edelbrock.   After reading reviews, its actually a pretty damn good intake.   Well, I picked it up, painted it and installed it.  The same installation procedure went into this one as the previous intake swap post, so you can follow the steps there.  I did have to reset timing by hand..might put up a few pics on how to do that.


    20131118_160905 20131118_17592620131119_171643


  • SBC Edelbrock Performer intake to Victor Jr intake upgrade

    Originally this 406ci SBC came with a 650 Holley and a Edelbrock Performer dual plane intake.  Pretty restrictive if you ask me.  I ended up installing a Holley 830 and it was time for the intake to be replaced.  Here’s a few pics of that process.


    Initially, the dual plane intake just looks ugly because its dirty.  Performance wise, a 406 will make a little more HP with a single plane intake.  I cleaned up and painted the Victor Jr a high-temp silver.

    20131028_17083420131020_09423520131028_184744


    After removing the distributor, alternator bracket, carb and various things that were in the way…time to remove the old intake gasket and seals.  To keep trash out of the valley I just used some shop rags and vacuumed out whatever slipped past the shop rag.

    20131030_17122920131030_172133


    After installing the intake gaskets which are being held in place with a small dab of blue sealant, its time to seal the front and rear where the intake will rest.  Dont want any oil leaks.   Oh..and the 2 cork gaskets you get with your gasket set, throw them away.  On all 4 corners where the head meets the block, make sure you get sealant there also.  I’ve seen a simple job like this turn messy because of a pinhole leak in those areas.

    20131102_15403720131102_154058


    These two..just go ahead and throw them away.

    20131102_153359


    Carefully line up the intake and place it on the engine.  This pic shows my distributor installed.  Didnt take a pic of the intake being installed.   Torque specs are 25# and pattern in the next image and in addition to this I used a little bit of thread sealer on the ARP bolts to make sure we dont have anything leaking past the bolts.

    20131103_082026 torque_pattern


  • Upgrading the alternator bracket

    Originally I had picked up an alternator bracket because low mount brackets didnt work with either my water pump or my rack and pinion setup.   It wasnt the best looking thing, but it worked.


    IMG_20130915_121502_466


    Ended up finding this alternator bracket on Amazon for $55.  I was kinda hesitant since it didnt have any reviews until I put mine up.   Well it worked like a charm.  On two of the allen head bolts, my allen head socket didnt quite fit.  Looked like a machining issue, but after digging around in my toolbox I found one that “would work”.  Worst case, buy the same bolts from your local hardware store and still save $$ over buying a March alternator bracket.  Here’s a few pics of the parts and the after…

    20131108_203516 20131108_212015


  • Out with the old, in with the older…

    So what the hell is going on?  Where’s the Vette?  Got rid of it.  Wanted something that “was complete” and didnt need as much fabrication and time that my ’88 Corvette needed.  I scoured one of my favorite sites RacingJunk.com and found a ’67 Chevy II Nova, 2×3 mandrel bent backhalf, Mustang II front clip, glass fenders, hood and decklid, all electronics, driveshaft, fuel system included.  All it needed was a motor/trans.  Currently it sits on 32×14 rear Monocoque wheels and the standard Monocoque front skinnies.  I am going to leave the wheels the same since I havent seen these at any local burger stand and I kinda like the old school wheels.   My daughter and I set out on this 600 mile journey to Oklahoma to pick it up.  I was willing to drive pretty much anywhere in the USA for the right car.  Well this bad boy is ready to roll.  Its been a race car for many years, been beat on but now it’ll have an easier life.  I’ll drag race it once in a while but for the most part, it will enjoy the quiet life of burger stand auto meets, swap meets and cruises.

    Here’s some pics of the ’67 Chevy II..


    IMG_20130731_113705_110_resizedIMG_20130731_134252_142_resized