• Category Archives Fabrication/Welding
  • Got some work done on the turbo bracket

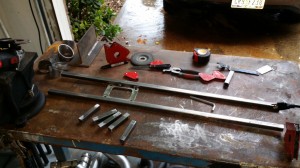
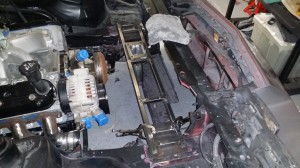
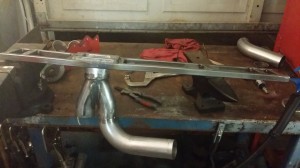
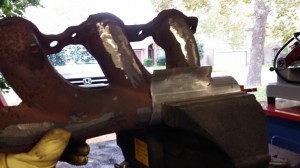
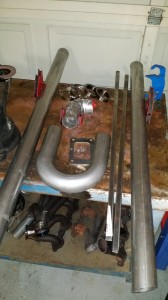
    The last post I had was me finishing up with the original manifolds and adding v-band flanges to them.   The next thing up is the bracket the T6 turbo is bolted to. I picked up some square tubing and made a bracket for it, along with some tubing and a mandrel bend.  Not pictured is the 3/4″ T6 flange, T6 form and 2.5″ -> 3″ merge.  I’ll take better pics of the turbo bracket with the T6 form and merge pipe tack-welded on.


    20141115_101926_resized

    I had to use (1) 1/4″ T6 flange and (1) 3/4″ T6 flange, kinda pancaking the two on top of each other because the turbo hit the bracket since I flush-mounted the 1/4″ T6 flange…I needed a little more than a 1/4″ clearance so I just added 3/4″ to make sure I had ample room.

    Turbo bracket being fabbed up..

    20141115_151633_resized 20141115_160710_resized

    Here’s the turbo bracket with the 1/4″ T6 flange flush mounted.  If you notice, I have the turbo to be mounted on the passenger side.  Little did I know that this wouldnt work unless I did some cutting where the turbo bracket butts up to the radiator “bracket/frame”.

    20141116_191313_resized

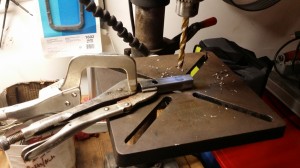
    Had to drill 2 holes in the square tubing on the turbo bracket.  I didnt want the bracket permanently mounted in the Camaro, just in case I one day wanted to run a twin turbo setup or something.. That drill press is a Craftsman 12″ that I picked up off of Craigslist for $90.  Damn thing is $179 from Sears.  Good deal there.

    20141129_185825_resized

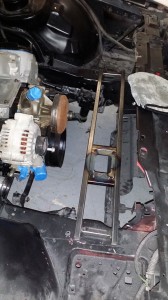
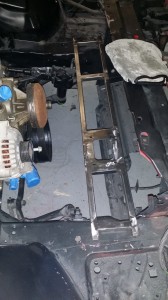
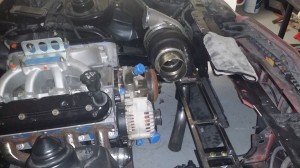
    If you look at the ends of each turbo bracket, you’ll see a square steel plate.  Thats where the bracket will be bolted to.  I tack-welded it in place then clamped it to get a rough guesstimate where it would be bolted to.  Look closely at the T6 flange where the turbo is mounted.  You’ll see that I had welded the 3/4″ T6 flange on top of the 1/4″ flange I had welded flush there.  Also ended up mounting the turbo on the drivers side since I have very little room on the passenger side and didnt want to do any cutting.

    20141129_193625_resized

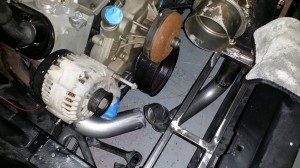
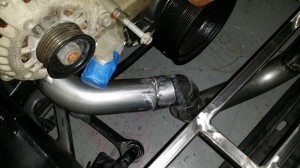
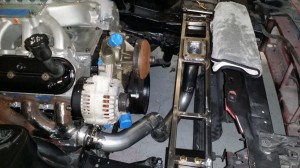
    Here’s the T6 turbo bolted down to the bracket, along with the bracket bolted down to the 1/4″ square tubing thats tack-welded to the frame.  Just need the drivers side exhaust to the merge tubing, then its either the rest of the hot side to the exhaust or from the turbo to the carb hat.

    1537834_10205380351853408_7267704697645128000_o 10750034_10205380352933435_7694448449585351914_o

    1781000_10205386577329041_5868946295085609737_o

    20141204_17382220141204_183334


  • More work on the passenger side turbo manifold

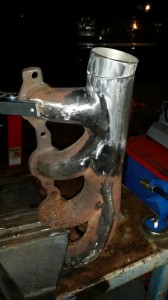
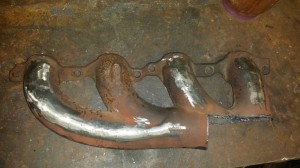
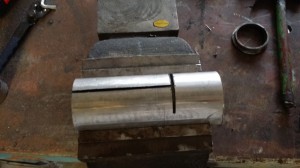
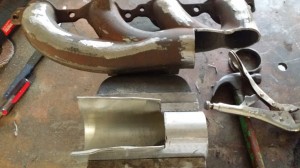
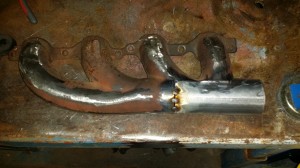
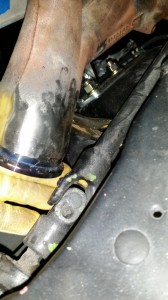
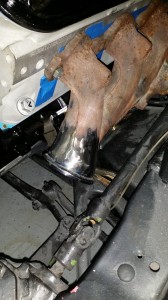
    Well I noticed my engine wasnt as far back as it should have been.  After fixing that, my passenger side manifold hit the k-member.  So its time to modify the manifold.  I ended up picking up some 2.5″ exhaust tubing then cutting and grinding it to fit the notch I made in the manifold.  Its not done yet and needs more grinding and molding before the final weld.  As you can see, it fits well and should work perfectly.


    20141103_182135_resized 20141104_164759_resized 20141104_165311_resized 20141104_165435_resized 20141104_183056_resized 20141104_183624_resized


  • Engine and transmission install, fab work started.

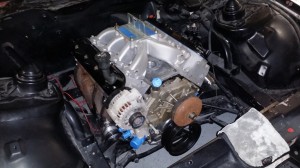
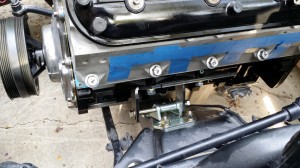
    Very productive day off.  I installed the LQ4 and a gutted TH400 that way I can tighten the LS adapter plates and also the BMR TH400 3rd Gen Camaro crossmember.   After installing the engine I went to bolt the crossmember in.  No dice.  Cant get the engine/trans far back enough to bolt it on.  The original crossmember is maybe 1/4″ off if even that much, so I’m going to add some steel plate to it and bolt the transmission to it.   The JBA shorty headers I modified, well the drivers side hits the steering shaft.  I could modify it but it would take some time and I dont think I’m really gaining much HP over the stock modified manifolds.  Even though I’m going to use the stock modified truck manifolds, the drivers side didnt have enough clearance as it was close to the steering knuckle, so I had to shorten and re-weld the v-band flange to it.   After I modify the crossmember, I’ll put a pic up.   On to progress pics..


    Engine and trans going in all at once.  In this pic I’m holding the trans up to install the crossmember.

    20141030_105738

    The gap between the Dirty Dingo EZ LS Conversion mounts and the Moroso solid motor mounts will need to be fixed.  I’m going to pick up some steel round tubing or have a friend of mine cut some for me.  Until I get that round steel tubing cut, I have vise grips holding the bolt from sliding.

    20141012_170845_resized


    Truck manifold with v-band flange added.  I basically did this before I had the engine in, otherwise it wouldnt have been an issue and I would have known to cut it shorter.  As it looks in the pic, way too close to the steering shaft knuckle.  Will not have room for the v-band clamp.

    20141030_153923


    Modified truck manifold and I angled it a little towards the engine.
    20141030_180044


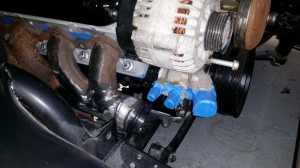
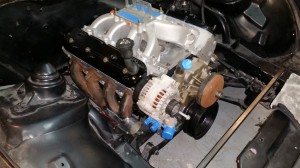
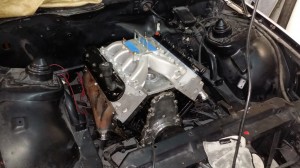
    Full shot of engine in with both manifolds.

    20141030_180448