• Category Archives Repair
  • More changes to the turbo setup / TH400 build

    Long time no update..

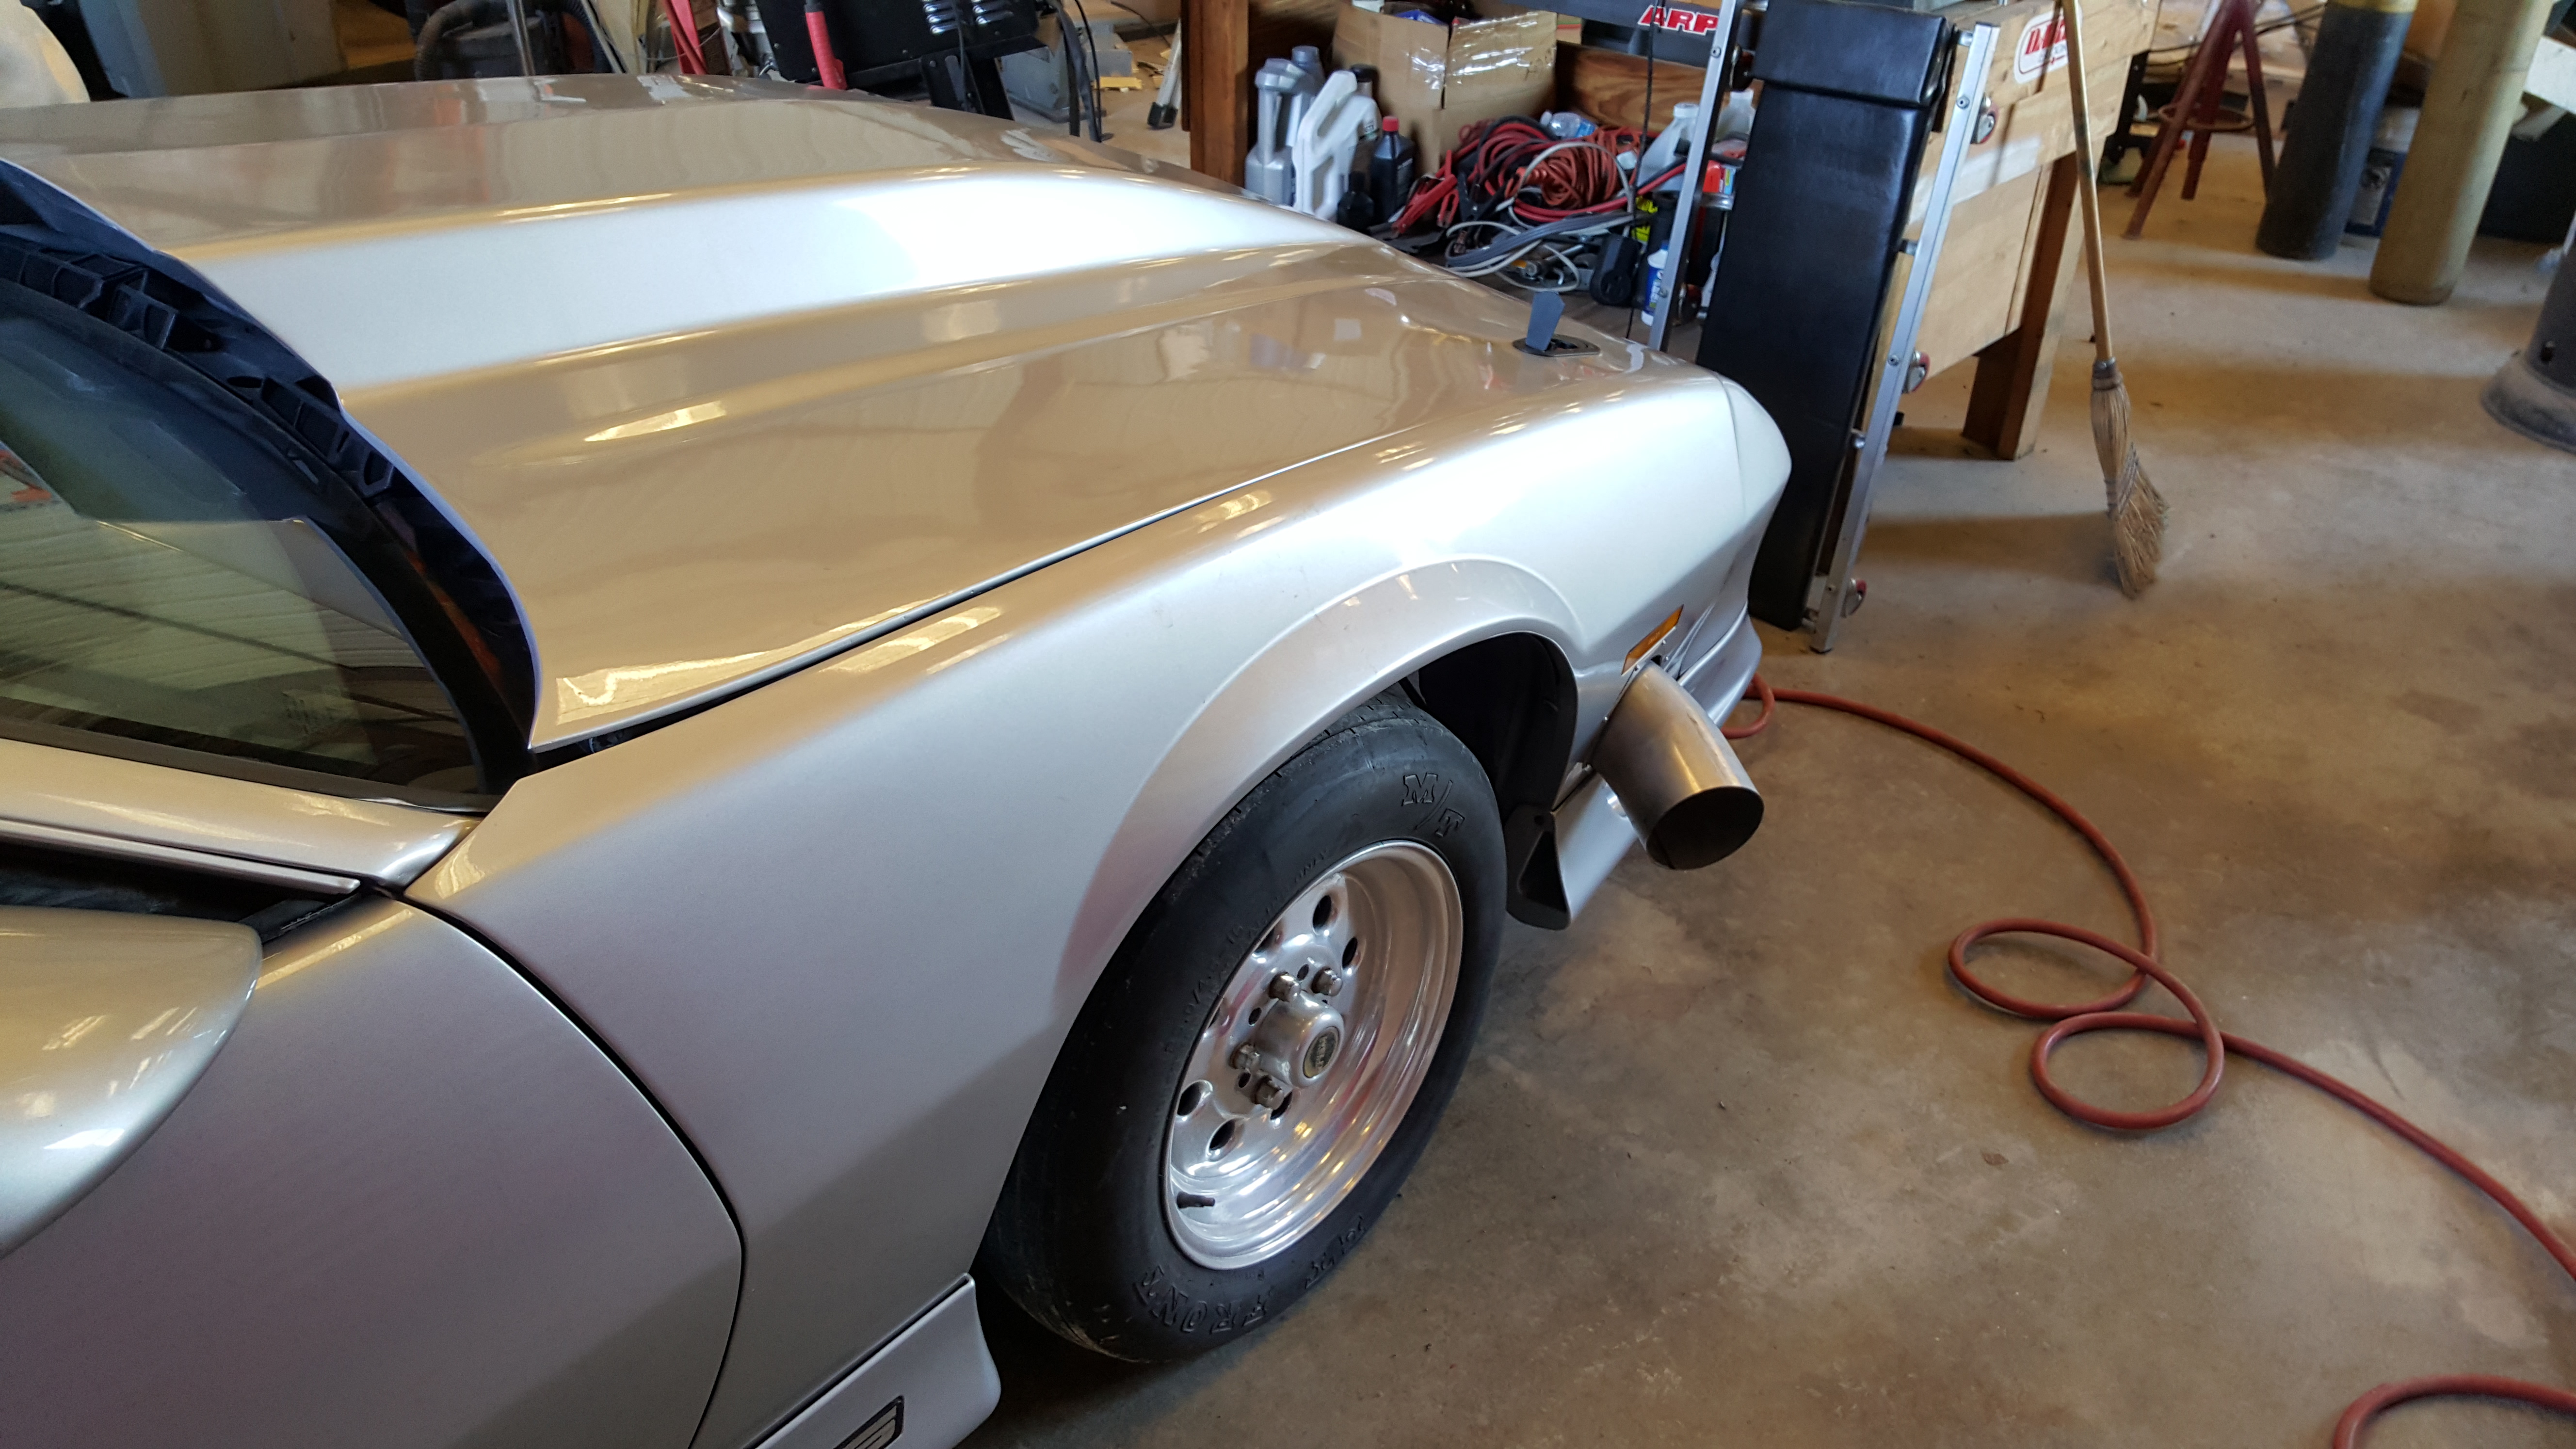
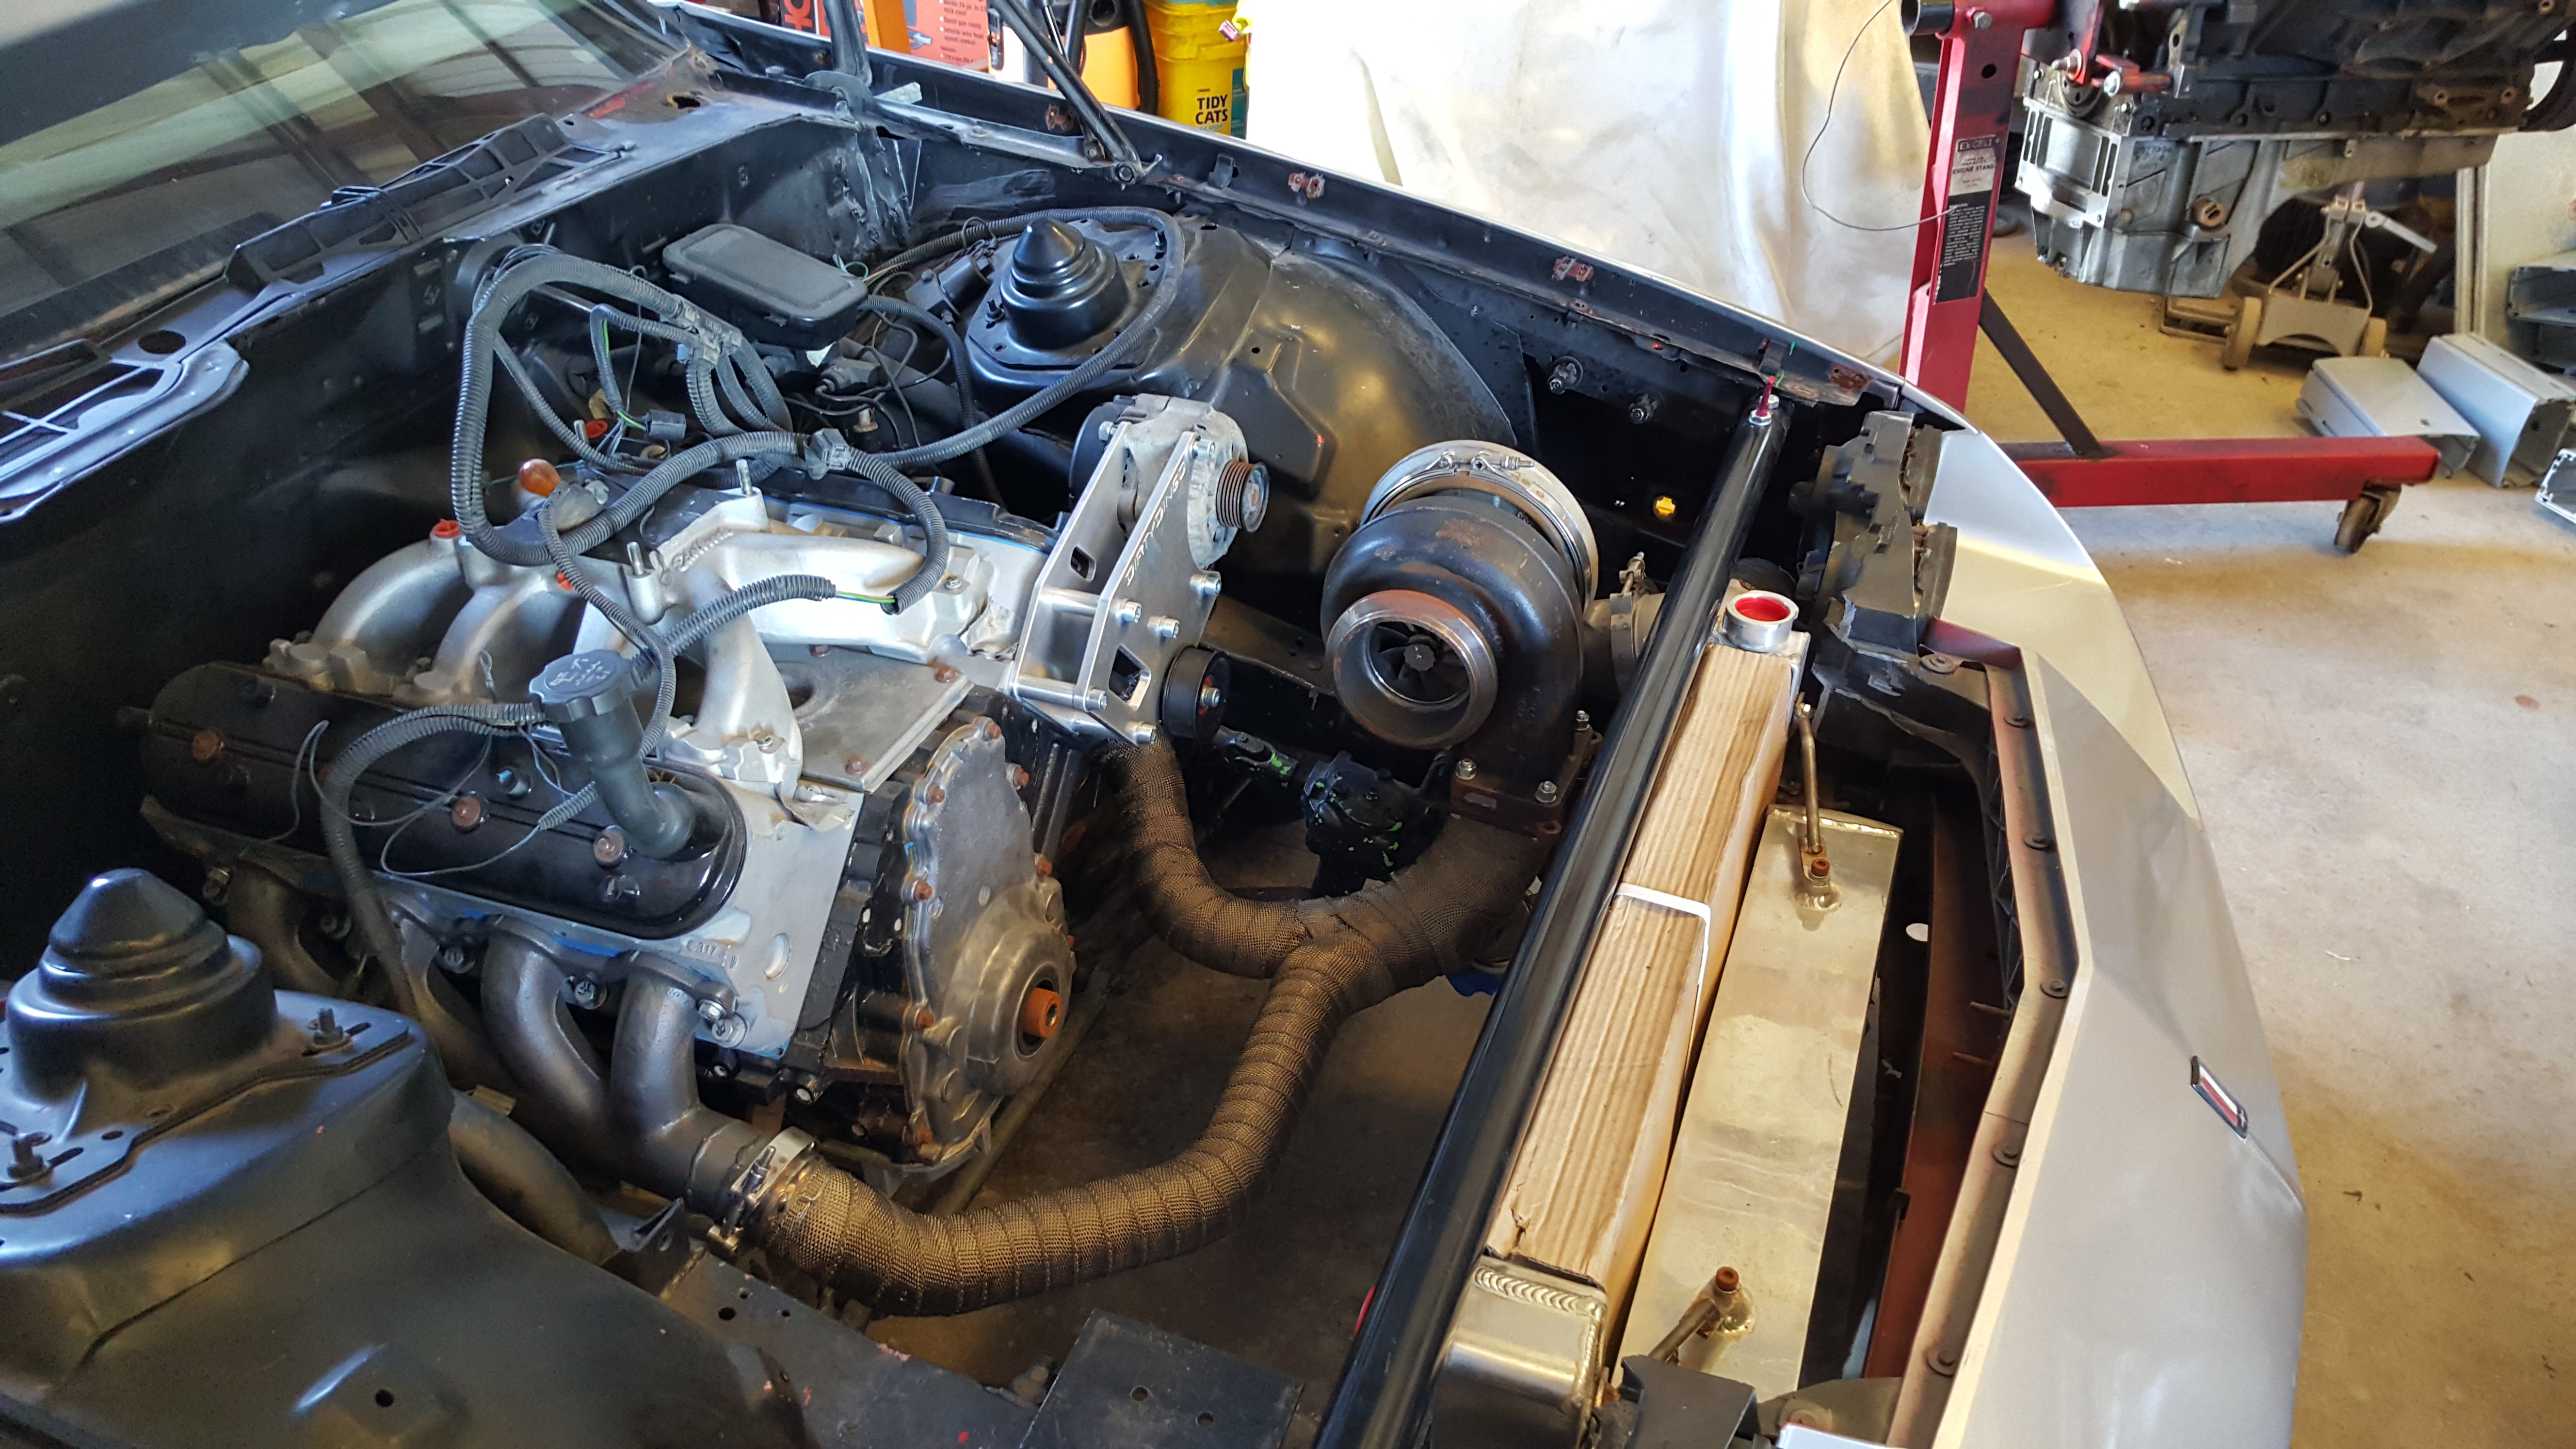
    I’ve had my car at a local shop since I’ve been busy with work and the real world.  Previously I had to make room for the intercooler and radiator.   The problem was that my turbo hotside from the manifolds to the turbo should have been tucked closer to the engine.  Since I did not do that, the wastegate would hit the dual fan setup.  Talk about a bummer.  That was the biggest issue.   So I took my car to a local shop and they basically redid what I fabbed up.   Oh well, got me a little closer to getting done.   Here are some pics of how the setup looks.   As you can see, there is also PLENTY of room for the drivers side alternator mount.  I also switched to a Corvette LS2 crank pulley that I need to install.  It looks like I took 4 steps forward and 3 back, but actually this was a huge help for me since now everything fits.  Next is the TH400 trans.


    20160109_10430220160109_103050
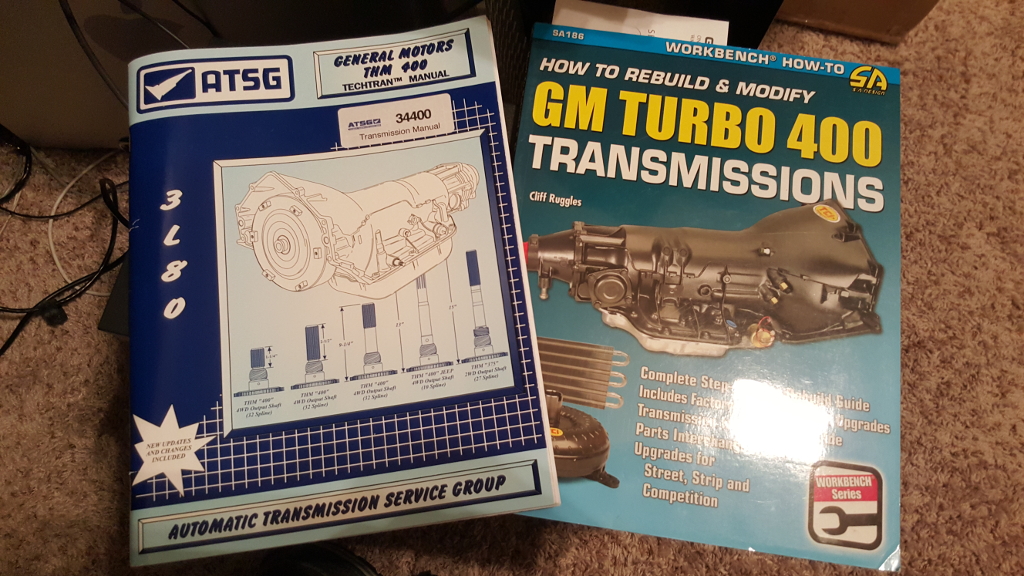
    The TH400 that I need is about $1500 that can hold 1000HP, or from someone I’ve used before its $1900.   After watching some Youtube vids on TH400 building and my wife pitching in and buying me two books on TH400 building, I figured I’d get after it and build my own transmission.  Right now I have it torn down and am waiting on parts to come in.


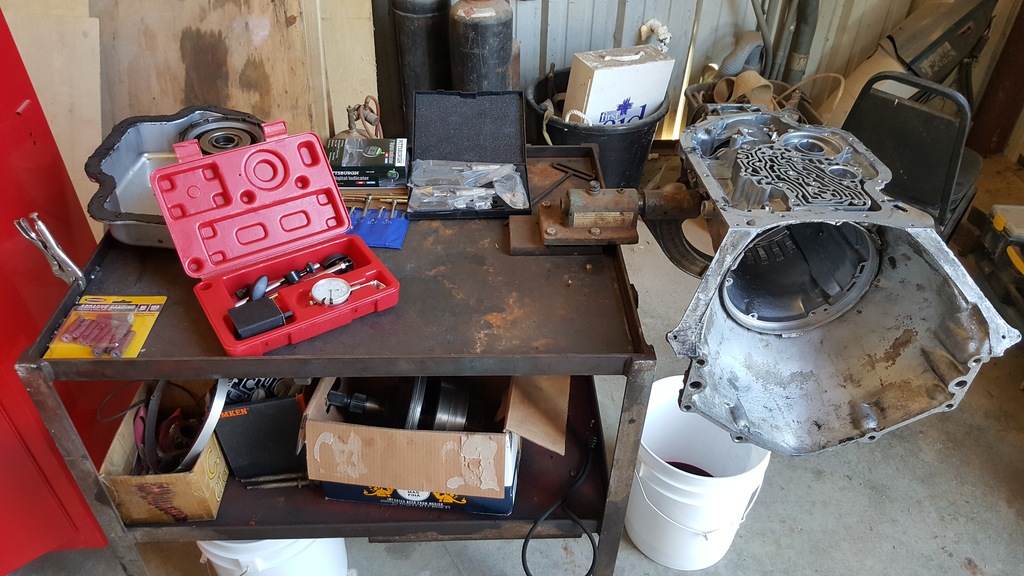
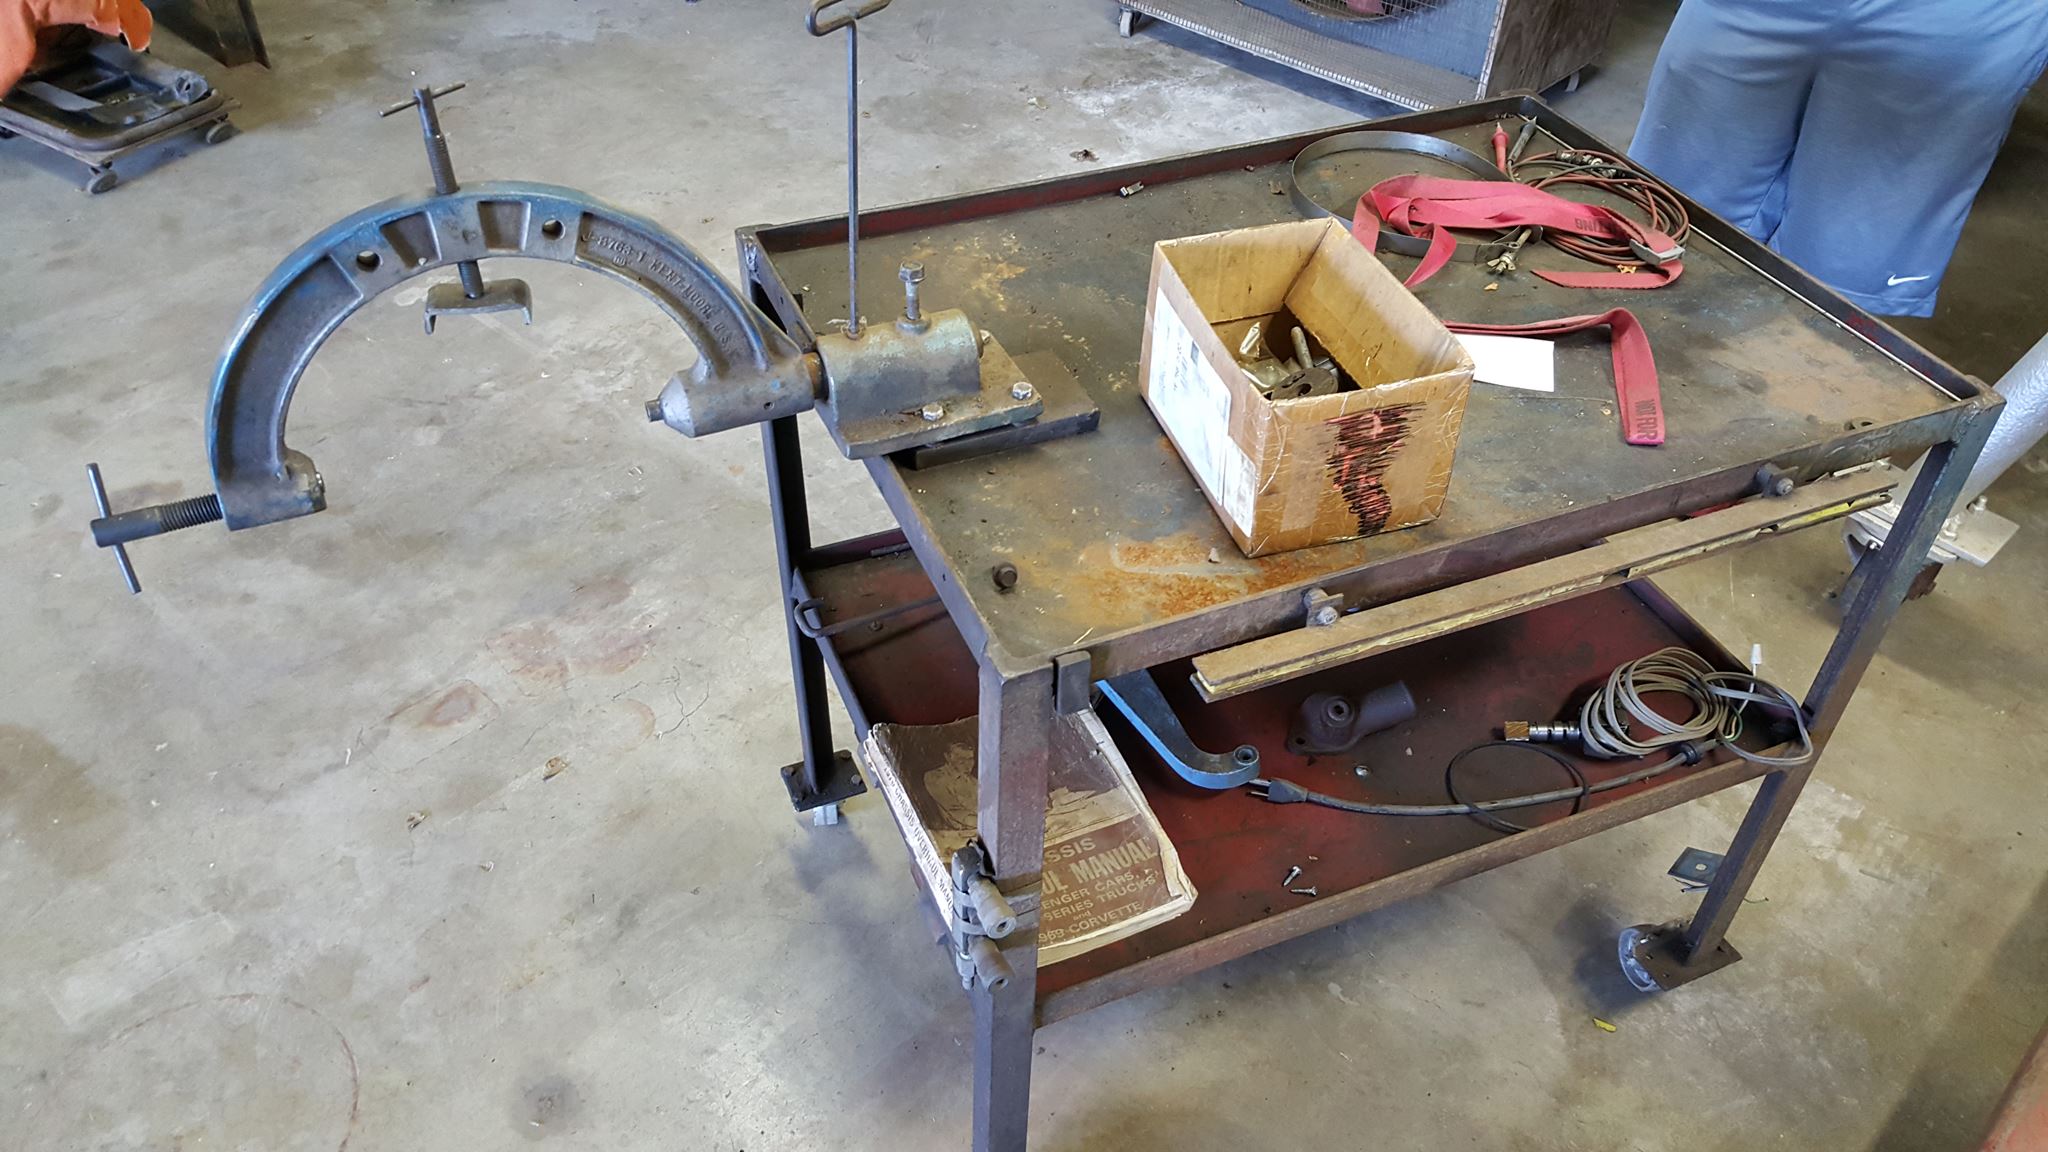
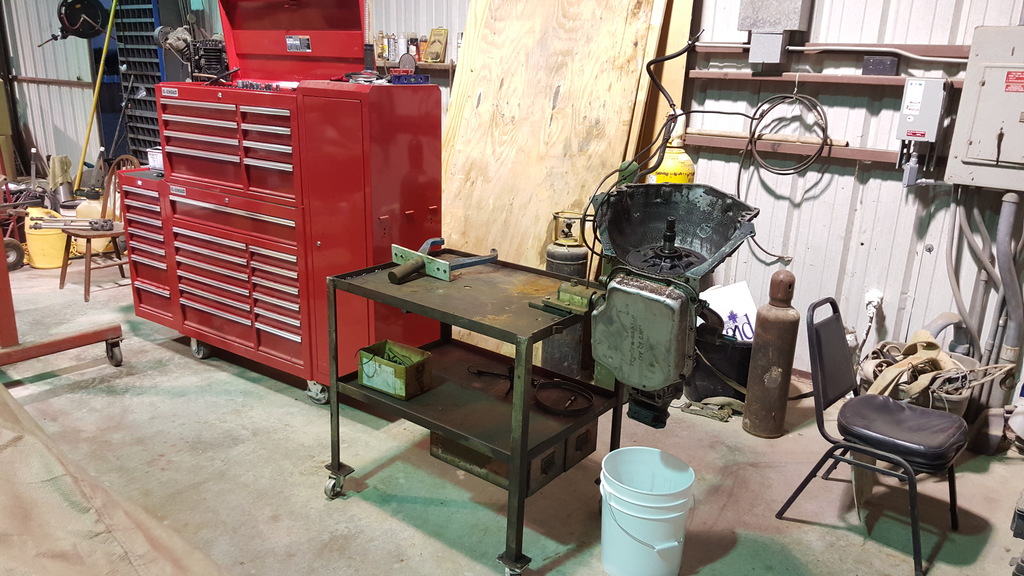
    First things first..I need a TH400 bracket that I can bolt to a bench.  They run about $175.   Well I ran across this bench and TH400 bracket for $150.

    12628615_944762855577166_3708041484999690270_o


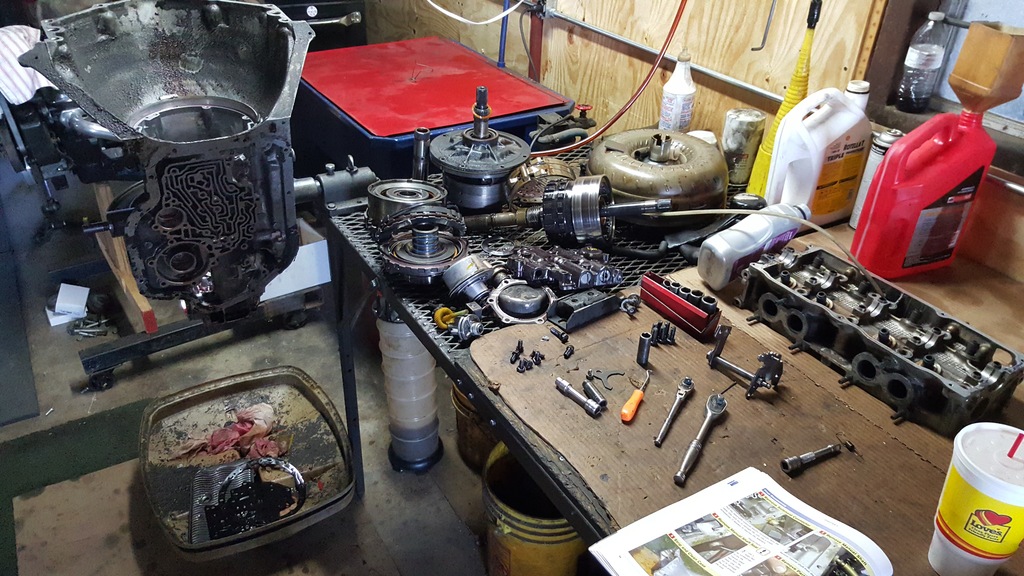
    Then I found this working TH400 core, so I put it on the bench.  Looks good next to my toolbox.  🙂   The two books are the ones I’ve been reading.

    resized-20160201_18310920160222_152847


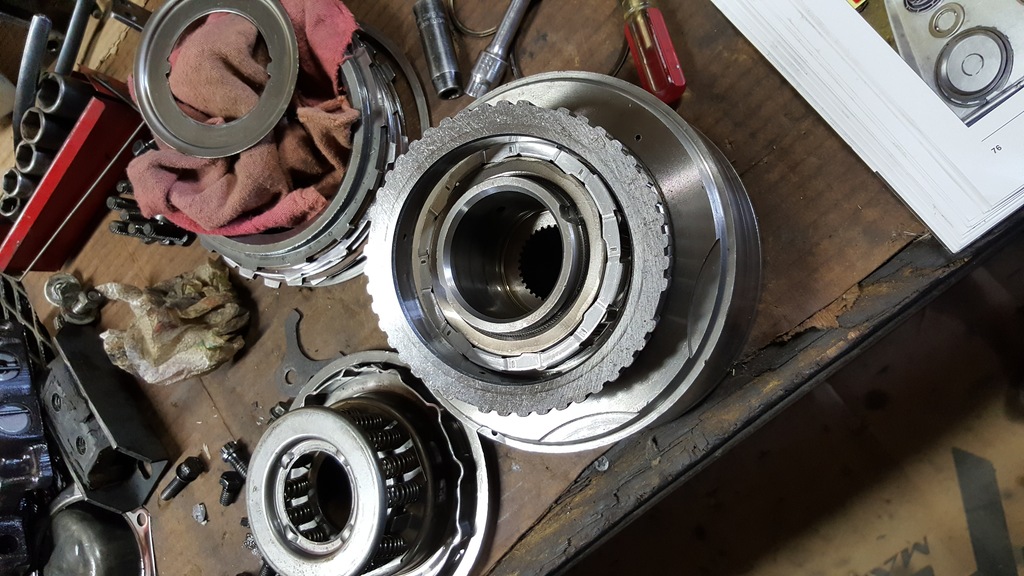
    And here is the TH400 and all its innards.

    resized-20160212_120429_001

    resized-20160212_120429_001


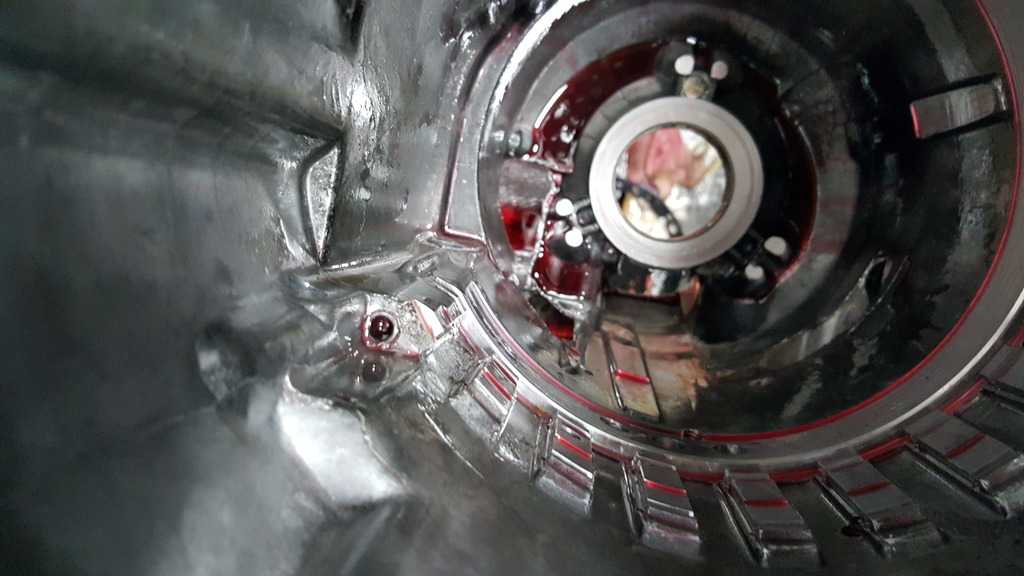
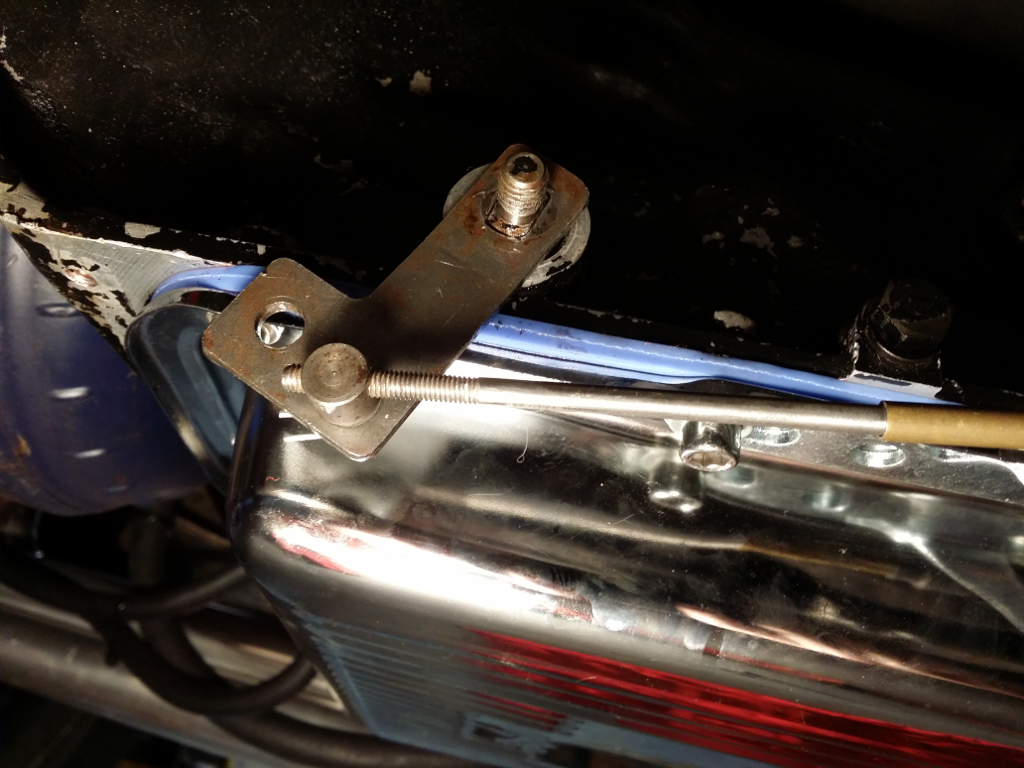
    The above pic..looks like we have a chipped tooth which holds a retaining ring.  I think it’ll be ok.

    resized-20160212_124751 resized-20160212_131129 resized-20160212_120439resized-20160212_153921


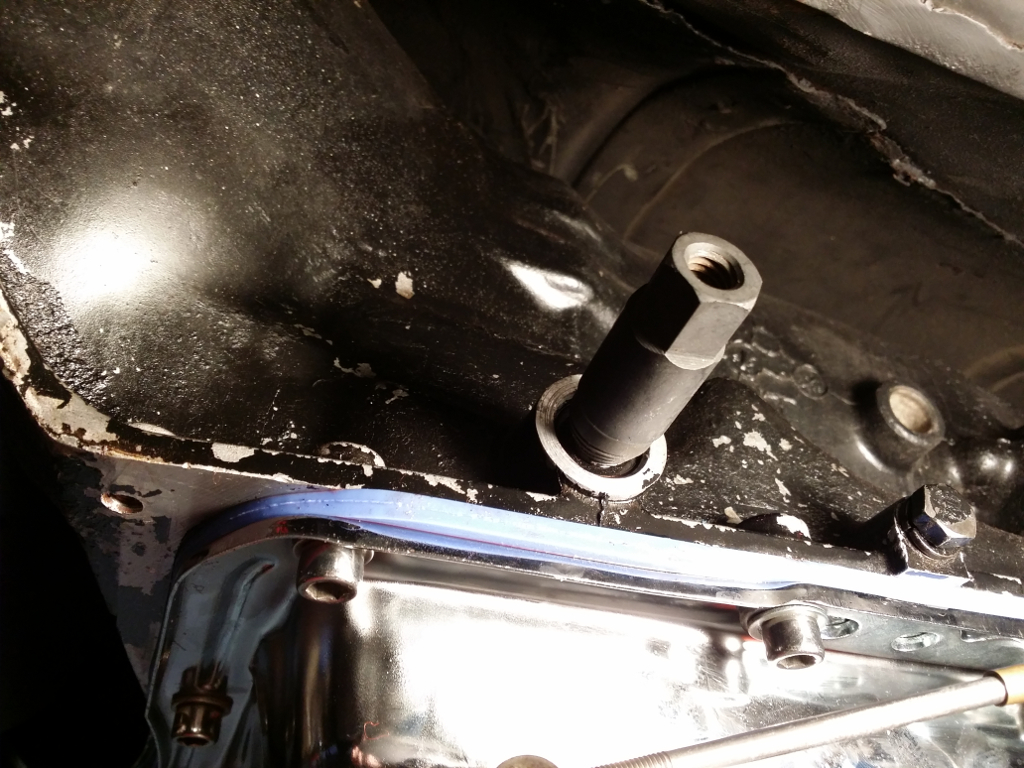
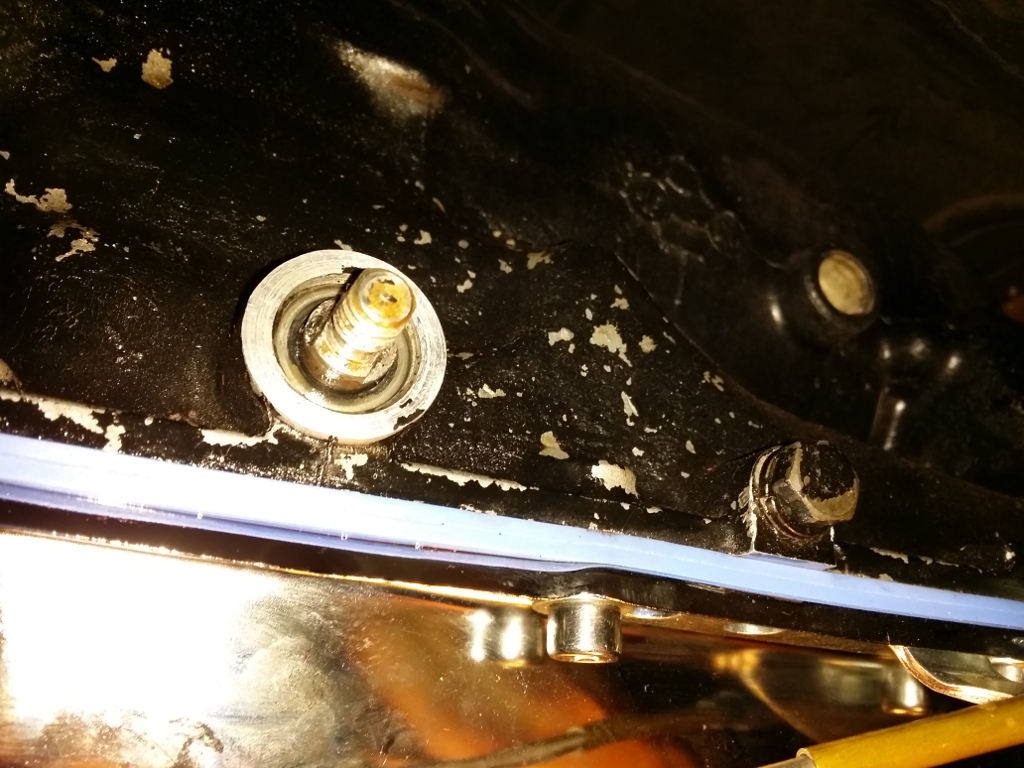
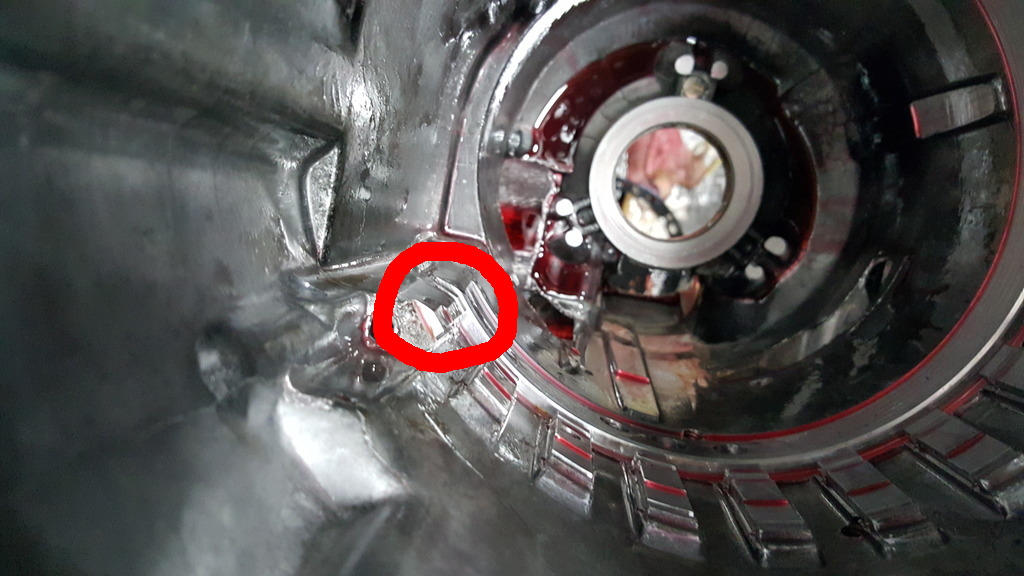
    Another small issue.  Broken piece off where the trans pan bolts to.   I noticed 2 bolts missing but didnt see this until I removed the pan.   If I need to, I’ll have this fixed.

    12694962_950559658330819_5635039573803148646_o


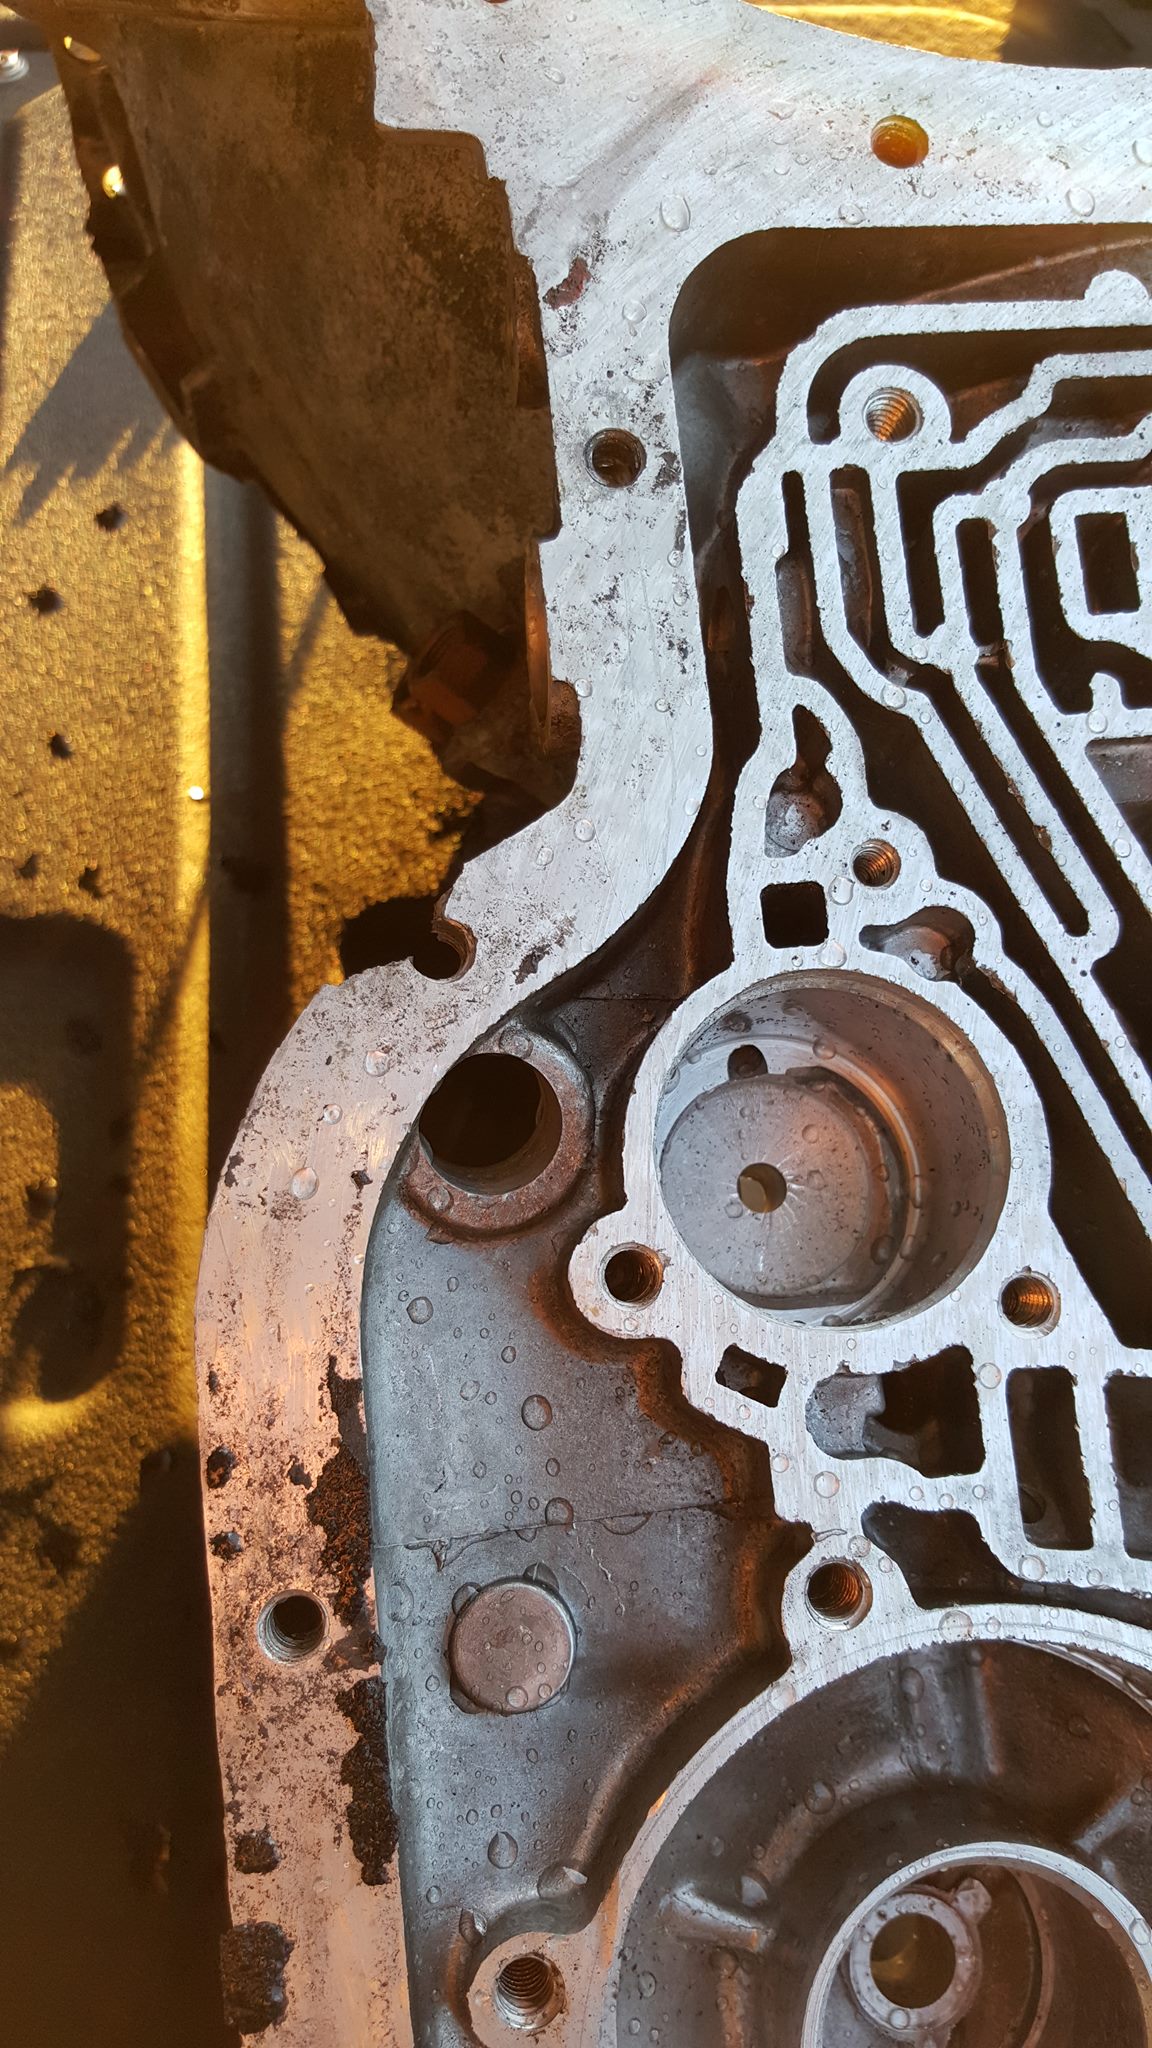
    Cleaning it off with a pressure washer.   Looks ok, but needs to now be cleaned by hand.

    resized-20160212_175056


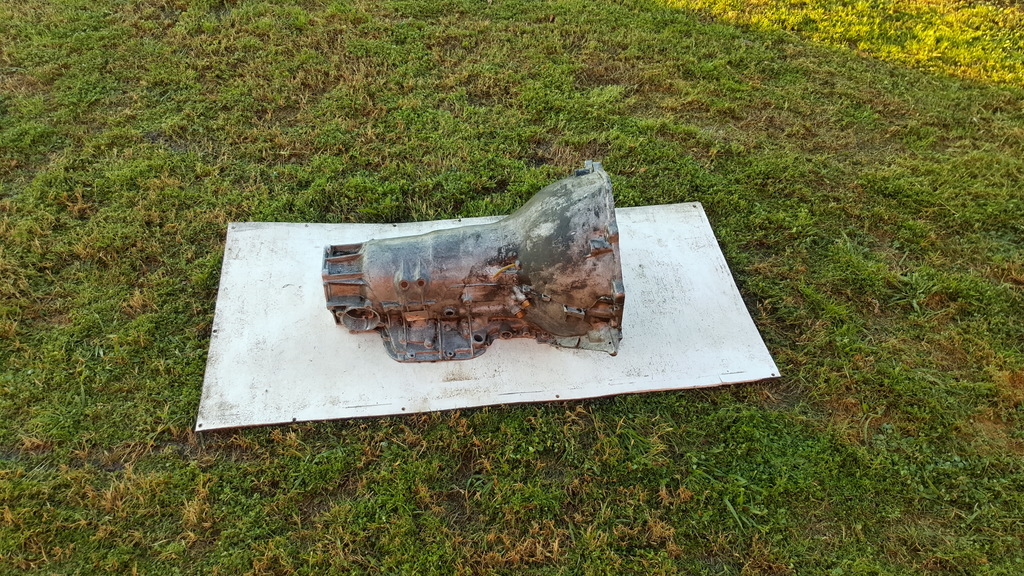
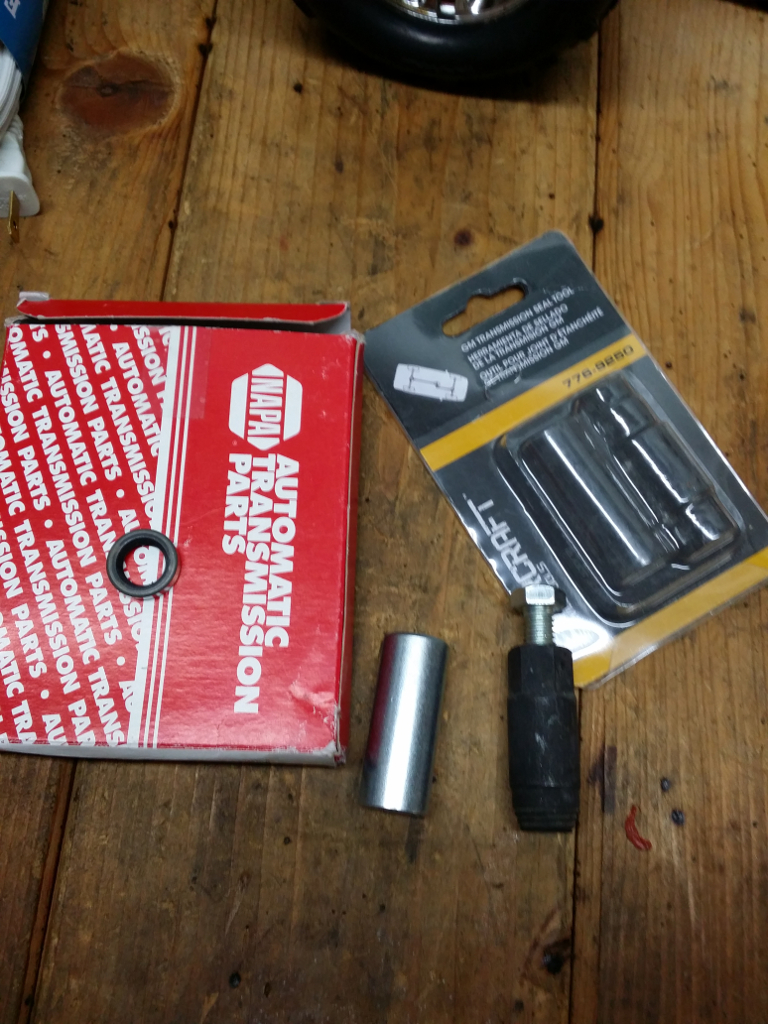
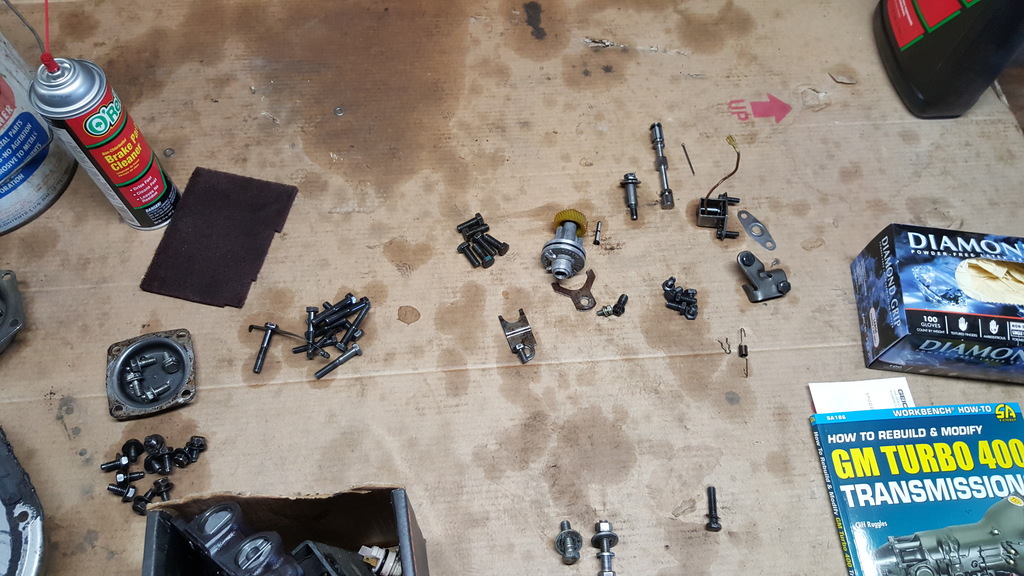
    Bought new tools for assembly and there’s the case for the TH400.

    resized-20160213_161332


  • TH350 Selector Shaft seal replacement

    Probably one of the easiest seals to replace on a TH350.  It’ll take you about 10 minutes if you do it right.  Now now..you dont go around telling the ladies how easy this is.   What you gotta do is hype it up.  First things first.  Go get the biggest hammer you have, a sledgehammer is OK.  Walk in to where your significant other is at, lay that bad boy down and sip on your favorite beverage while throwing out this task you’re fixing to tackle.  If all goes according to planned, it looks like there’s some serious ass kicking thats about to occur.  Yea, lay it down thick.   Head on out to the garage, jack up that hotrod and then get the sledgehammer.   Find a piece of metal laying around in the shop/garage and take a few good whacks at it as if you’re trying to win some sort of strongman contest, your significant other will be impressed upon hearing that racket.  Once you’re done, follow along in the pics on how to replace the seal.

    You’re going to need two parts, a selector shaft seal, part # 1-3887 and the Selector Shaft seal removal tool, part #776-9250.  I bought both from NAPA.  Total price was around $10.  Left side, obviously, the seal.  To the right of the seal, the silver tool is the tap which goes over the shaft and will be used to install the seal.  To the right of the tap is the actual seal removal tool which is threaded on one end and has a bolt on the other end.

    20131123_183205

    Get under your car and remove the shift lever from the shaft by removing the nut on the end of the selector shaft.  Just that.  Nothing else.  It will pop off and you’re done with that part.

    20131123_183842
    Get the Selector Shaft seal removal tool and slide it over the selector shaft.  Make sure its aligned so you dont scuff anything up.  You may need to tap on it to get it to contact the selector shaft seal.  Once on, get a box end wrench and screw it on to the seal until virtually all threads are thru.  I had maybe 3 or 4 threads on the selector shaft seal removal tool showing.

    20131123_184610


    Go get the bolt and screw it into the seal removal tool until it bottoms out on the selector shaft.  Once there, get a box end wrench and tighten that bolt.  This motion will cause the seal removal tool to remove the seal from the trans.

    20131123_18491220131123_184110


    There…voila!  Seal removed.  Next up is installing the new seal.   The tapered end, pictured below, goes first.  You will use the supplied tap to install it.  Pic on the right shows how it basically goes.

    20131123_18412320131123_185421


    Slide the seal over the shaft and use the tap to install the seal.  Make sure its aligned properly.  Use a hammer to gently coax it in.  It wont fall through into the trans if thats what you’re wondering.

    20131123_185724


    Your install is complete.  Just reinstall the shift lever and the nut.   Drink a few brews and brag to your significant other.

    20131123_190033