
Ok..Here we go. Lets start off with Linux Mint 17 installation. You will need to download the DVD image and burn it to a DVD. Once burned to a DVD you will need to boot from it. I am not going to go into detail on how to install Linux alongside of Windows. What I will show you will REPLACE YOUR EXISTING OPERATING SYSTEM, DELETING EVERYTHING ON THERE. If you are using this at your shop, just head to Goodwill or pick up an el-cheapo computer to install Linux on. I recommend at least a Dual Core system with at least 2GB ram and 120GB hard drive. Something like that will set you back around $100 or less.
Most likely your system will be a 64-bit system. If you do not know, shoot me an email and I will do my best to reply in a timely manner. If you do not want to wait for a reply, just download the 32-bit version.
Head over here to download Linux Mint 17. I recommend Cinnamon. Select either 32 or 64 bit and you will get a list of locations to download from. Pick closest to you and download it. What you are downloading is the full blown Linux Mint 17 Operating System image. Its file extension is .ISO which basically means its an image. Use whatever software you have like Roxio or what have you to burn it to a DVD. Make sure the computer that will have Linux Mint 17 installed on it is connected to the internet.
After burning, insert it into whichever computer you choose to WIPE OUT AND REPLACE WINDOWS WITH LINUX MINT 17.
Once you start booting into Linux Mint 17, you will first run across the splash screen. Just wait patiently. If you accidentally hit a key, just select the first option from the menu. I dont recall what it says..but something like Install Linux Mint or something similar.
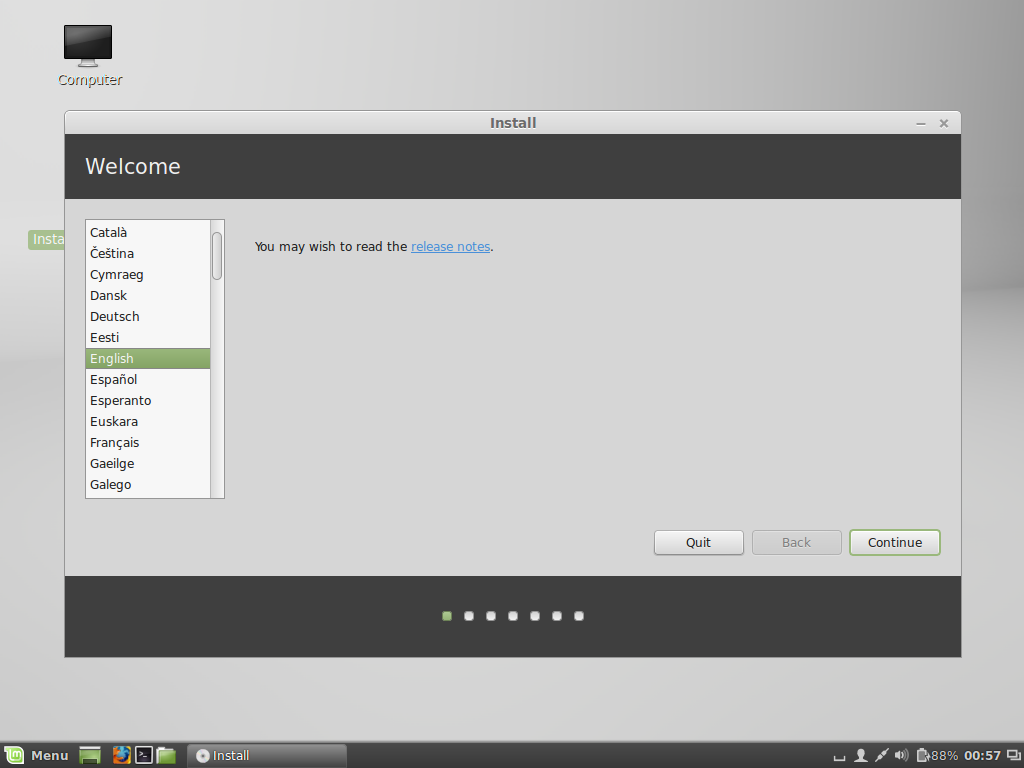
Once you are booted off of the DVD, you will get to the Linux Mint 17 aka LM desktop. Double Click on Install Linux Mint on the desktop. Select the language in which you speak and click Continue.
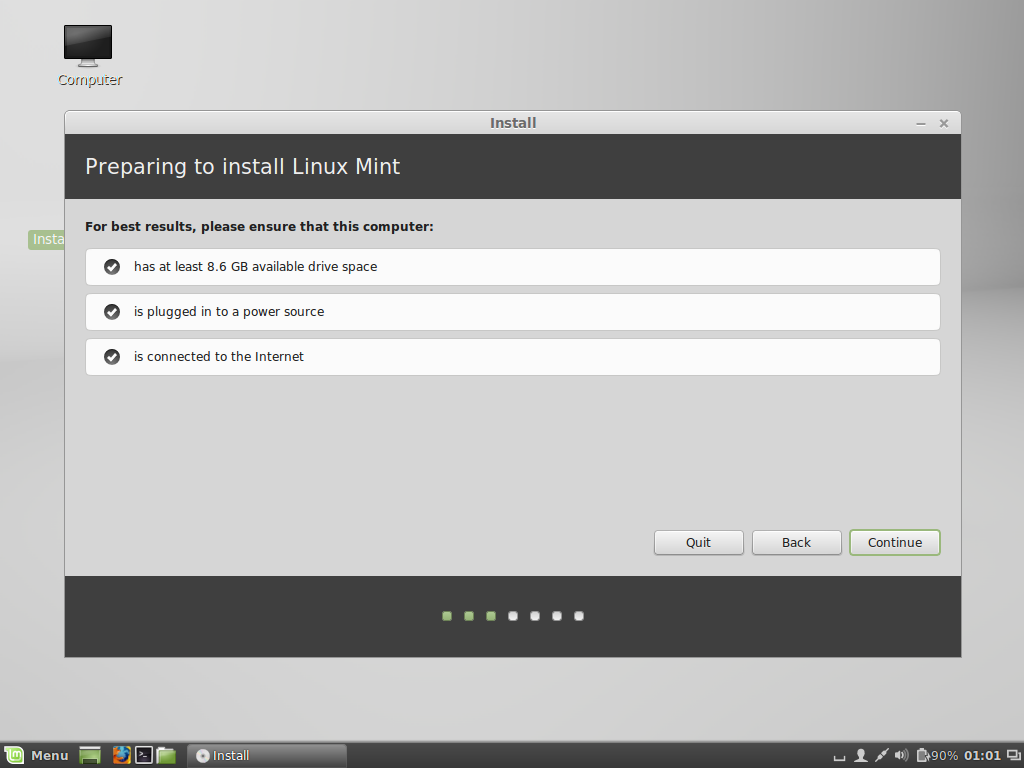
It will double check your settings to make sure they are adequate to run LM. If all is well, Continue will be a valid choice. Clicky on Continue.
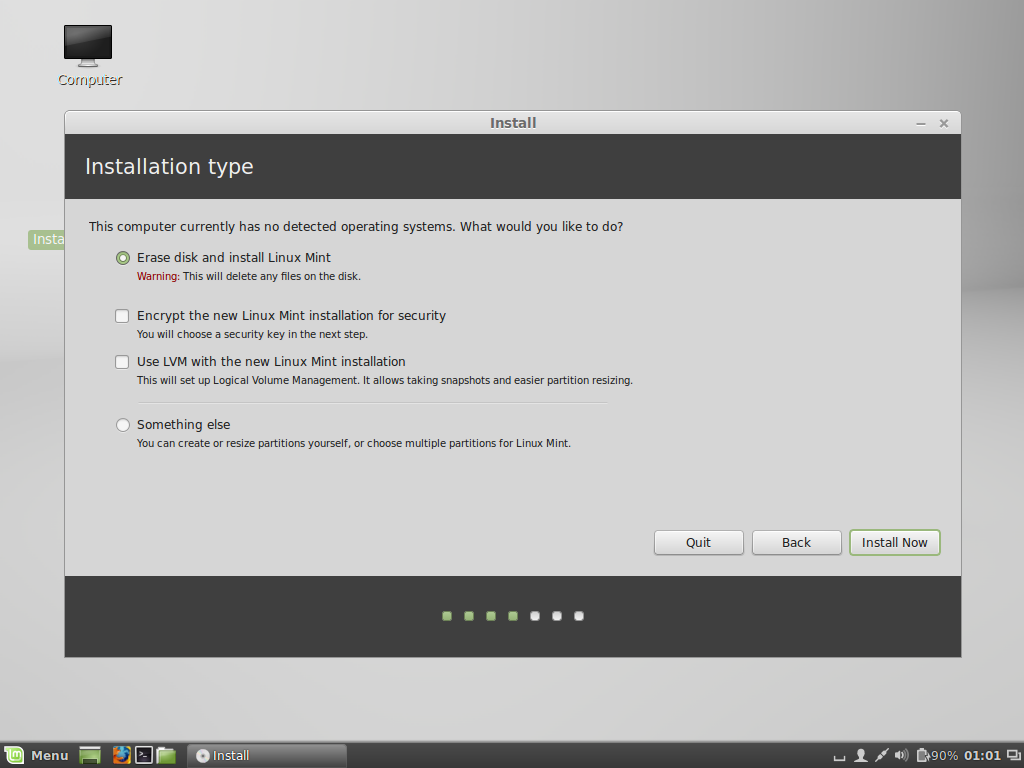
This next step, select the first option. It will wipe out your hard disk and install LM. Click continue.
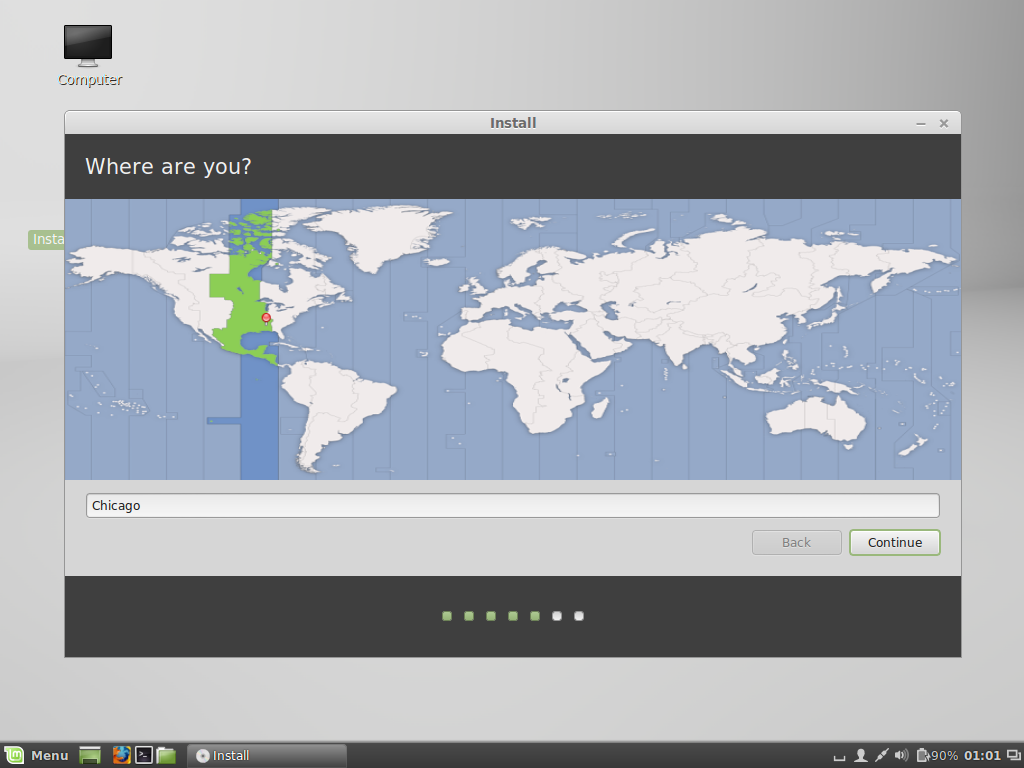
Select an area you’re close to (this is for the time zone).
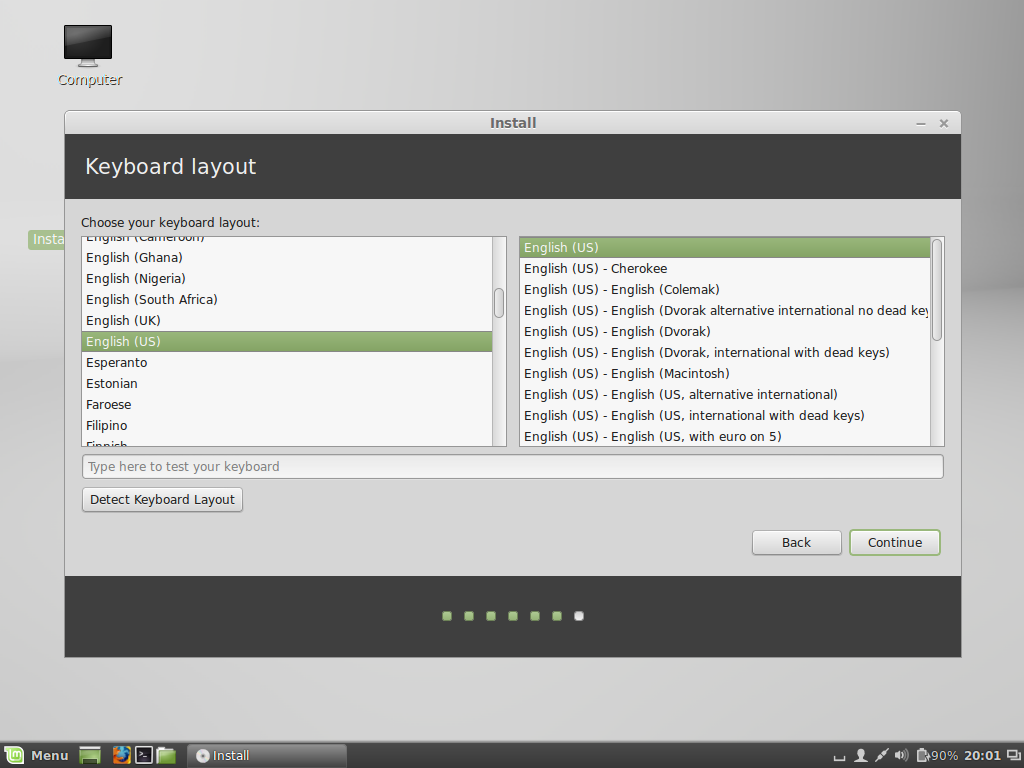
Select your keyboard layout. English(US) was my selection. Click Continue.
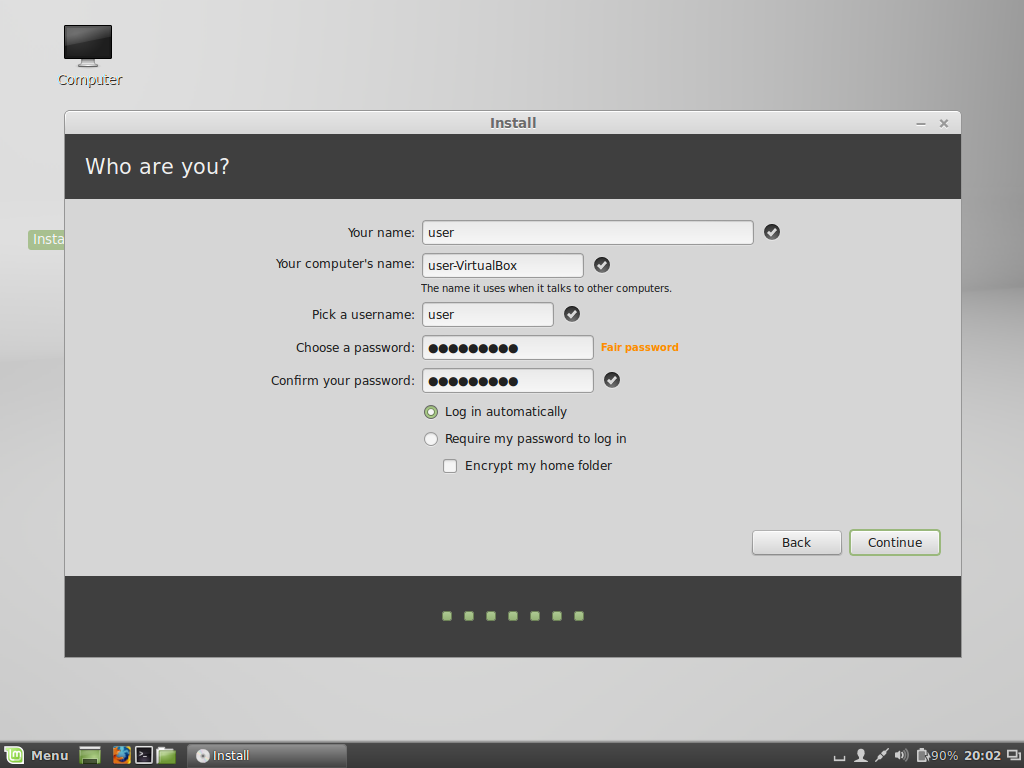
Create a username. I typed user. Your computer name will be auto-filled. You can leave it as-is. Then type a password that you will remember. If you DO NOT want to be asked for your password everytime you boot into Linux Mint, select “Log in automatically”, otherwise select “Require my password to log in”. Then click Continue.
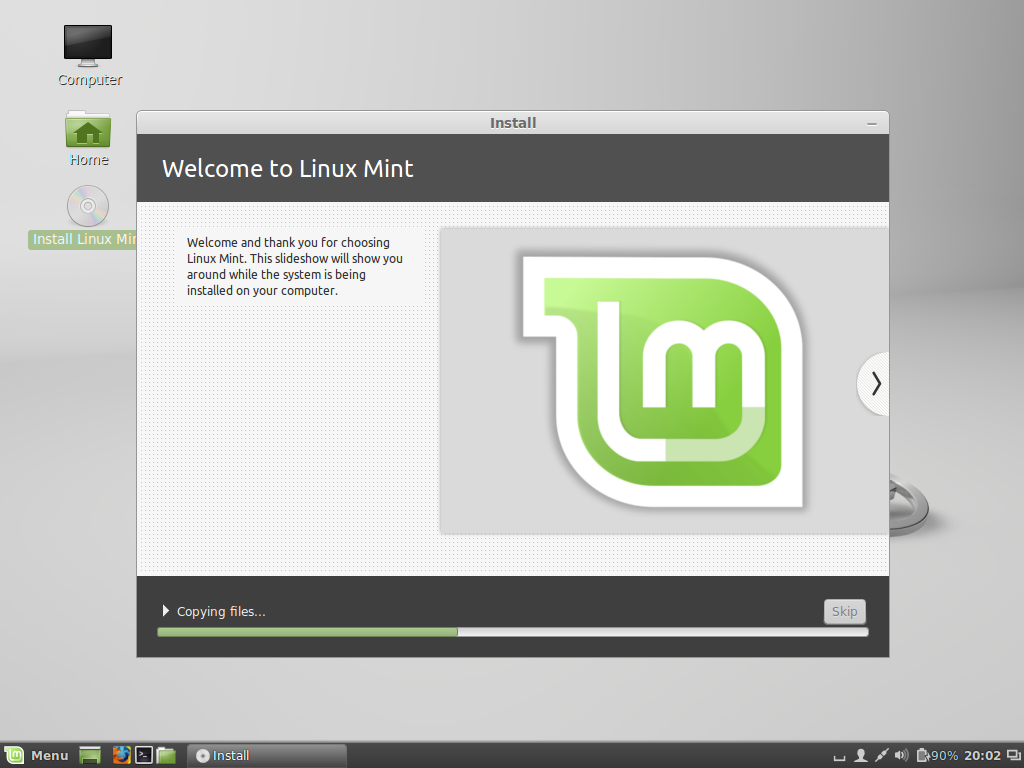
Installation has begun. This is about the time you brag to whomever is around, text a few buddies, let them know you’re installing a superior operating system. Make some sort of analogy about ported head flow (Linux Mint) vs unported head flow (Windows).
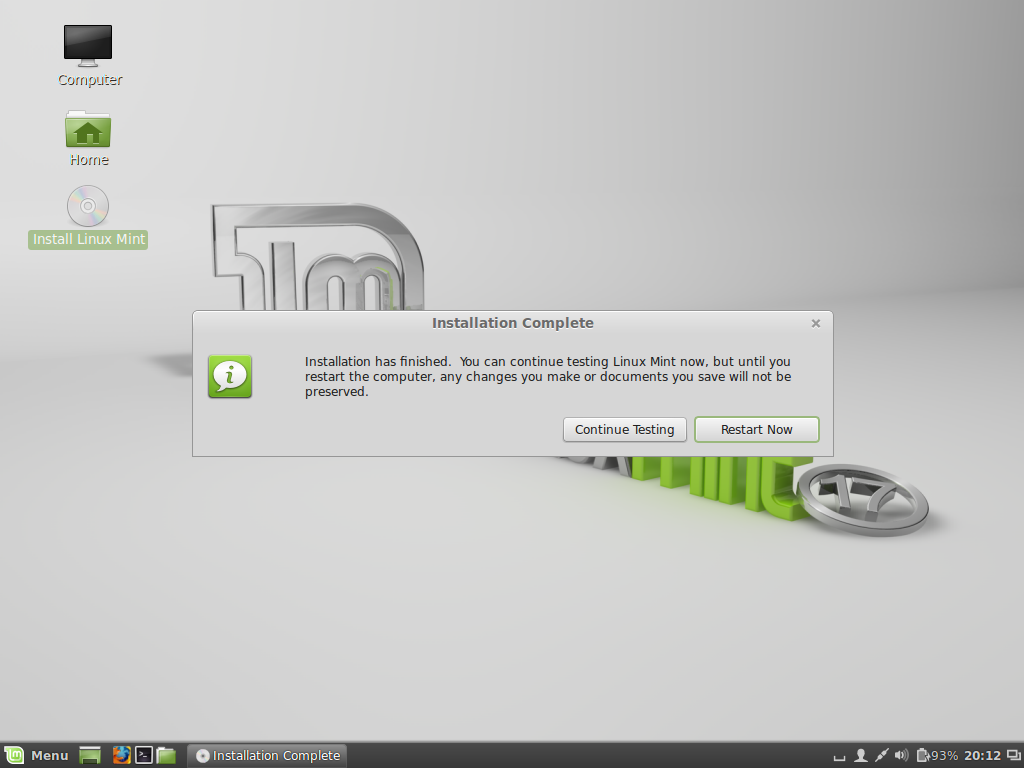
Once installed, you will see the below. Click Restart.
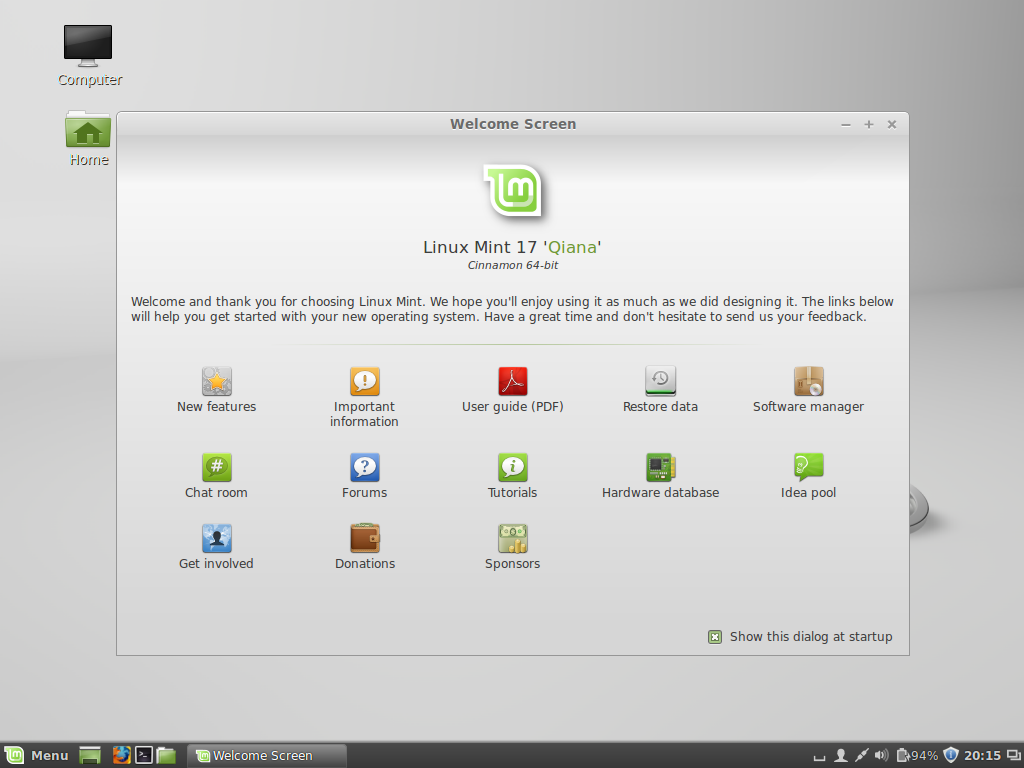
I was installing this under a junky computer for screenshots. If you get some sort of weird message when you click restart on a black screen..just power the computer off and power it back on. Let it boot. You will see the splash screen. If you selected “Log in Automatically” you will get to the below screen after booting. You can X out of the “Welcome Screen”, unselect “Show this dialog..” if you do not want it showing up each time you boot up LM.
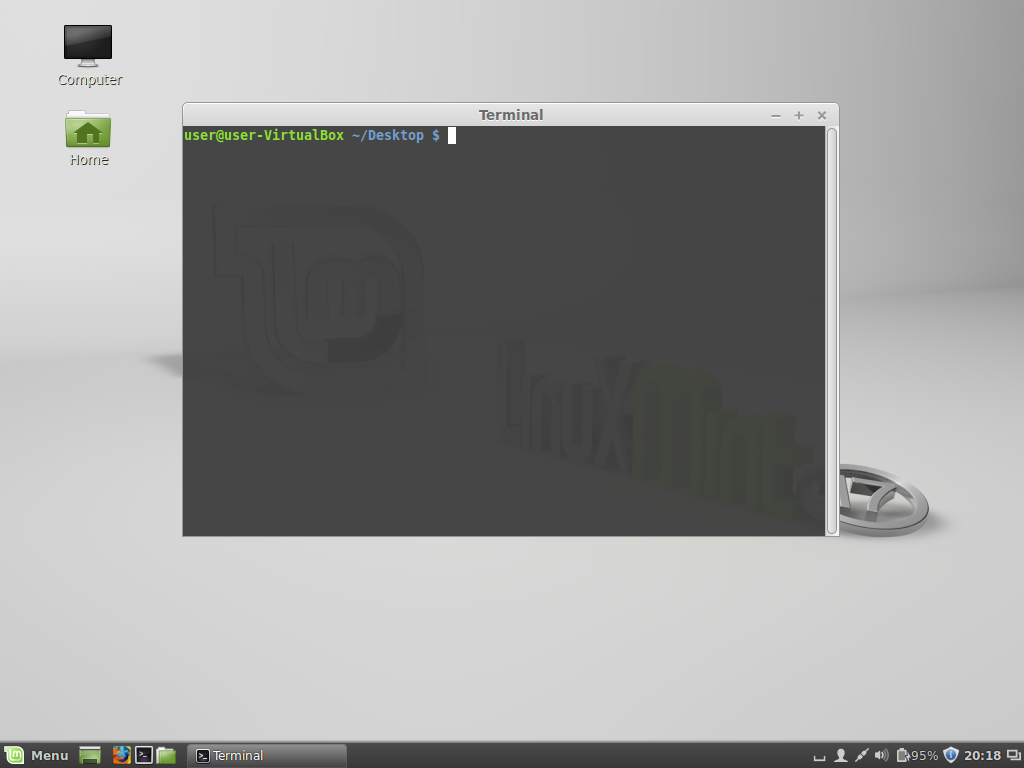
Once the “Welcome Screen” is gone..right click on the desktop and select “Open in terminal”. We are going to have to install SQLite3. Your terminal might look a little different depending on your username you created (mine was “user”) and the computer name.
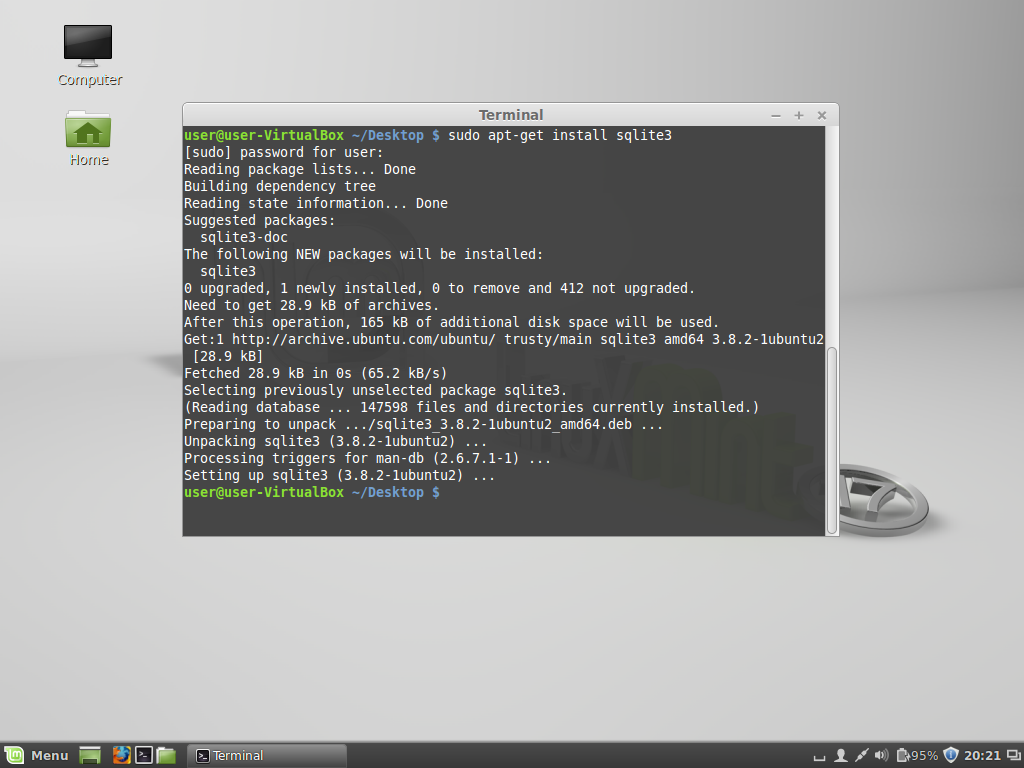
To install SQLite3, in the terminal window you will type the below:
sudo apt-get install sqlite3
It will ask for a password. Type YOUR PASSWORD that you created when you were installing LM. A whole bunch of nonsense will fly by.
There! You’re done installing Linux Mint 17. Lets go download Port Flow Calculator. You can either type exit at the terminal to make it go away or click on the X in the top right corner.

If you’ve used the browser called Firefox, you’ll see it in the bottom left-hand corner. If you havent, it looks like a small orange flame (a fox actually) with a blue circle in the middle. Click it.
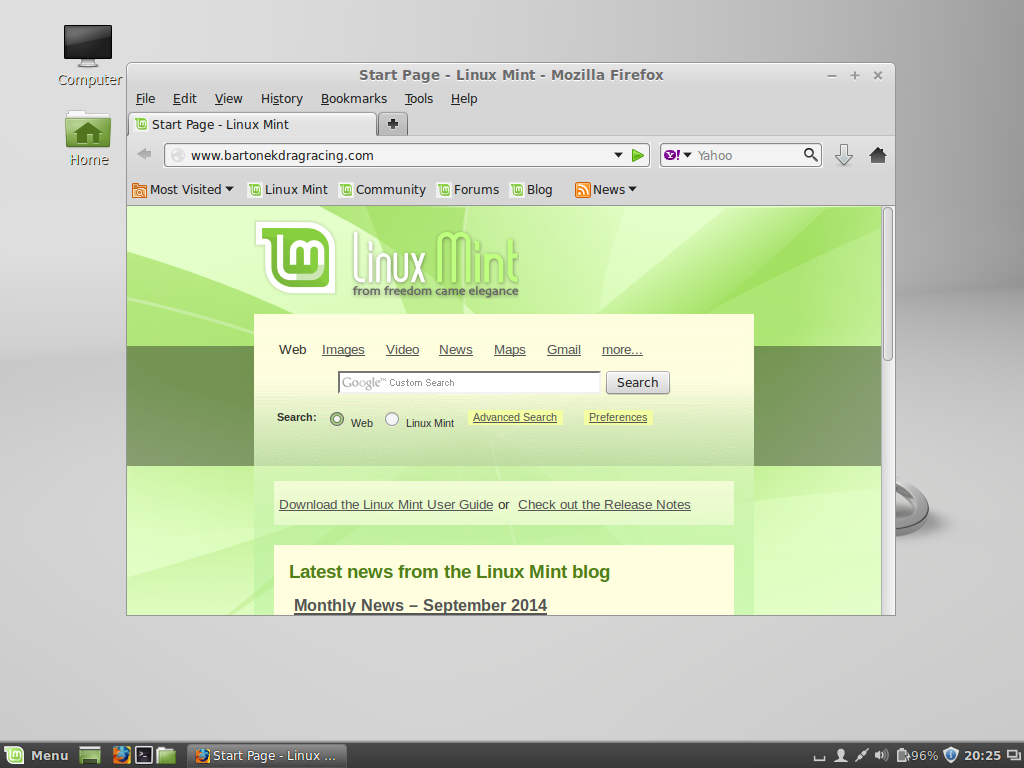
Type my website’s URL and lets download Port Flow Calculator. www.BartonekDragRacing.com
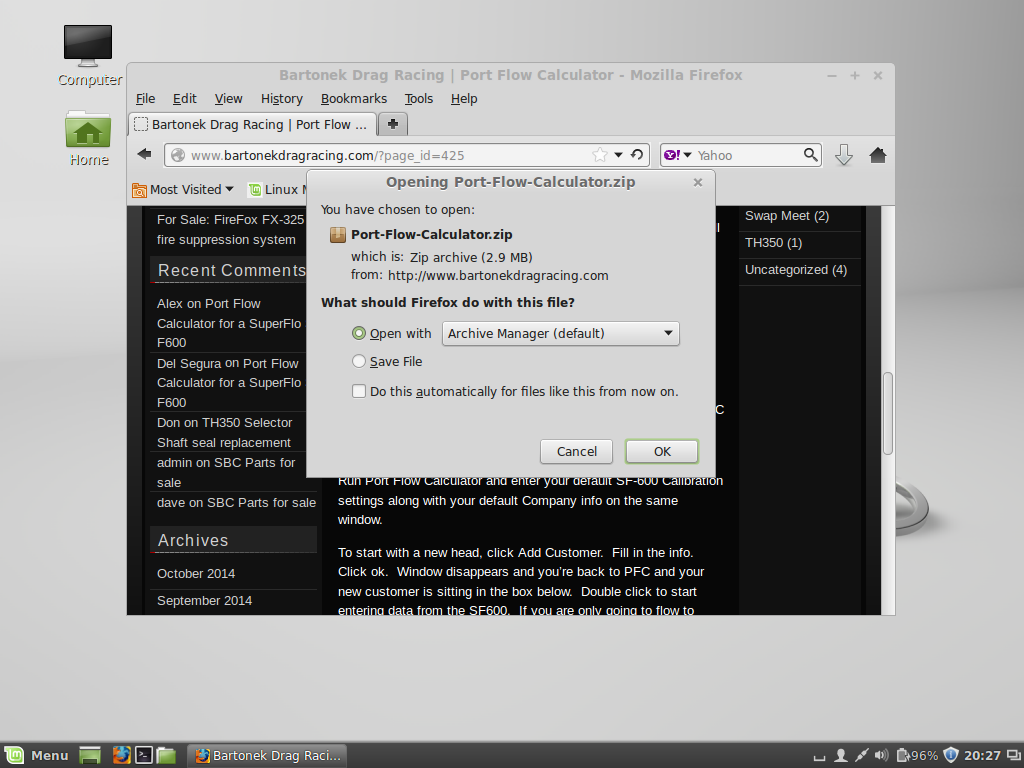
…and get to the Port Flow Calculator download link on my site and click on it to download.. Click OK. It will open the ZIP file after downloading.
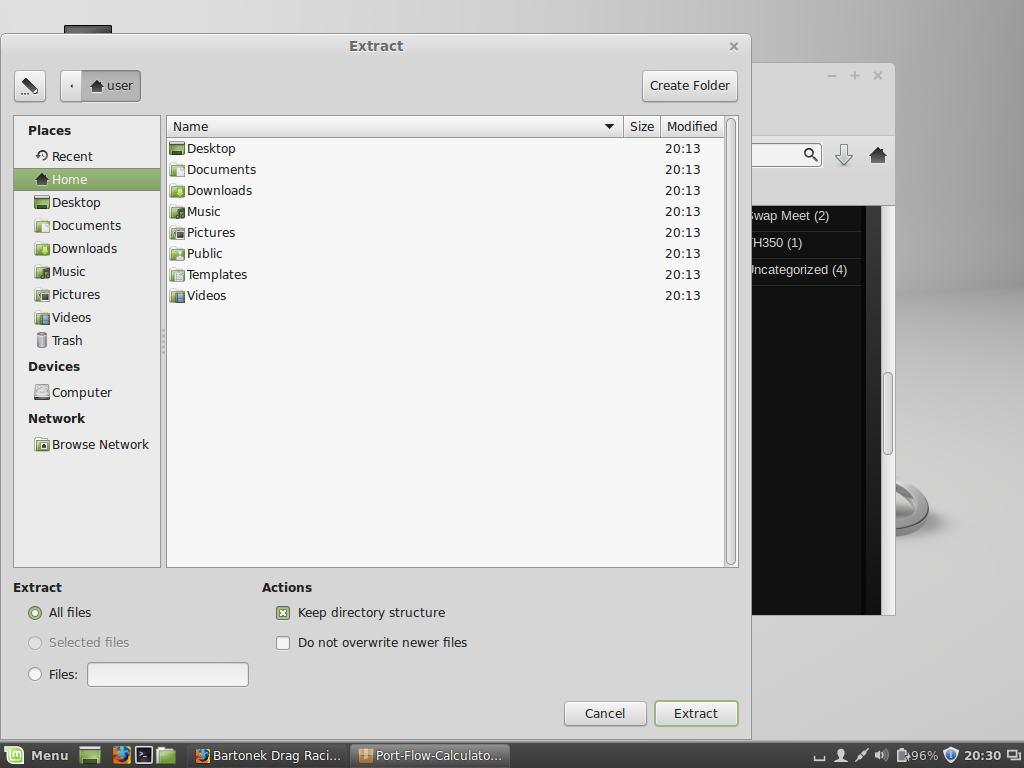
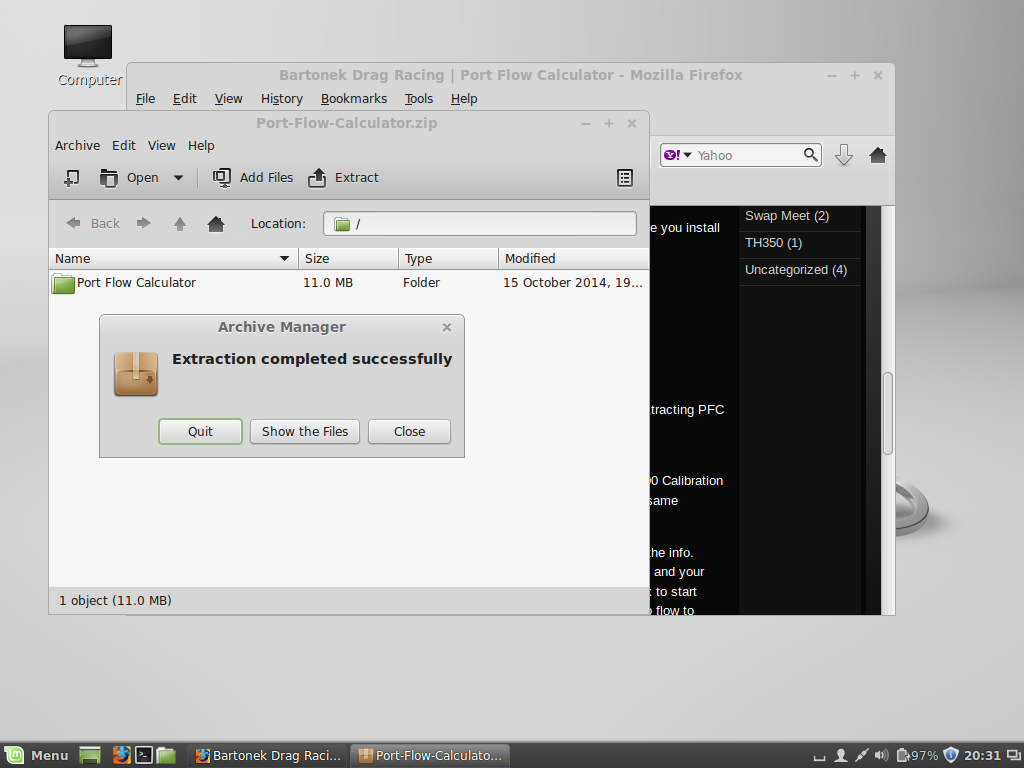
The ZIP file will open and you will see Port Flow Calculator. Click on EXTRACT in the menu and the below requester pops up. Click Extract.
Once complete, click Quit.
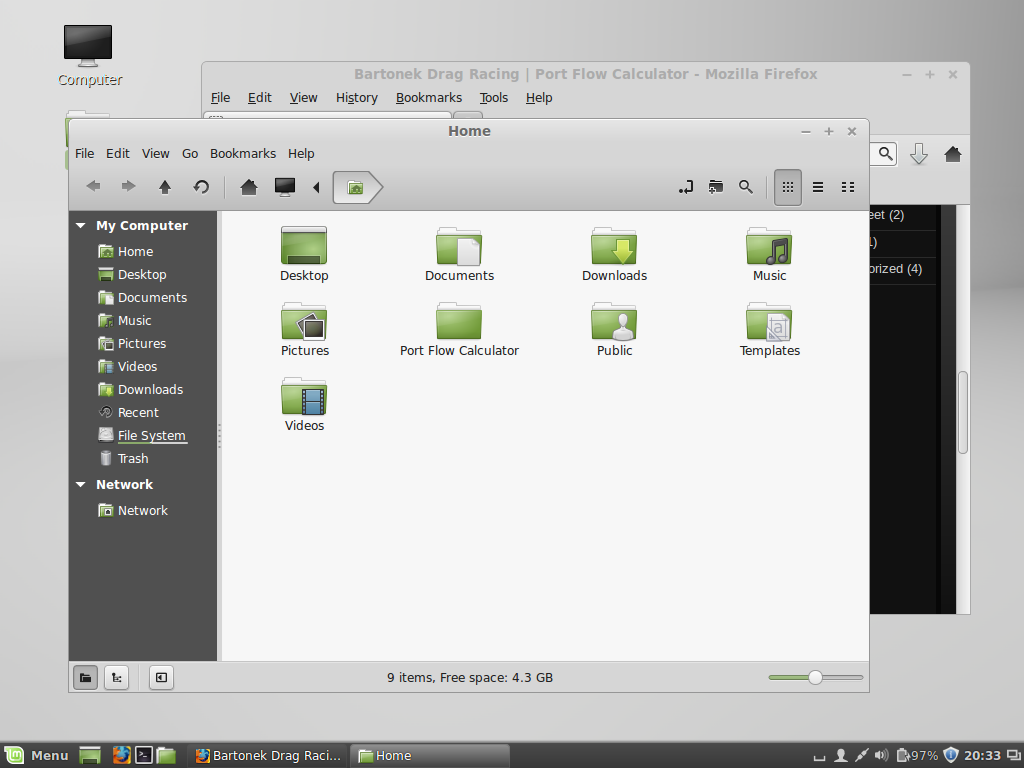
After that, you can run PFC. Double click on the “Home” icon on your desktop. You can minimize or close Firefox if you want. You will see Port Flow Calculator in its on folder. Double click on the Port Flow Calculator folder.
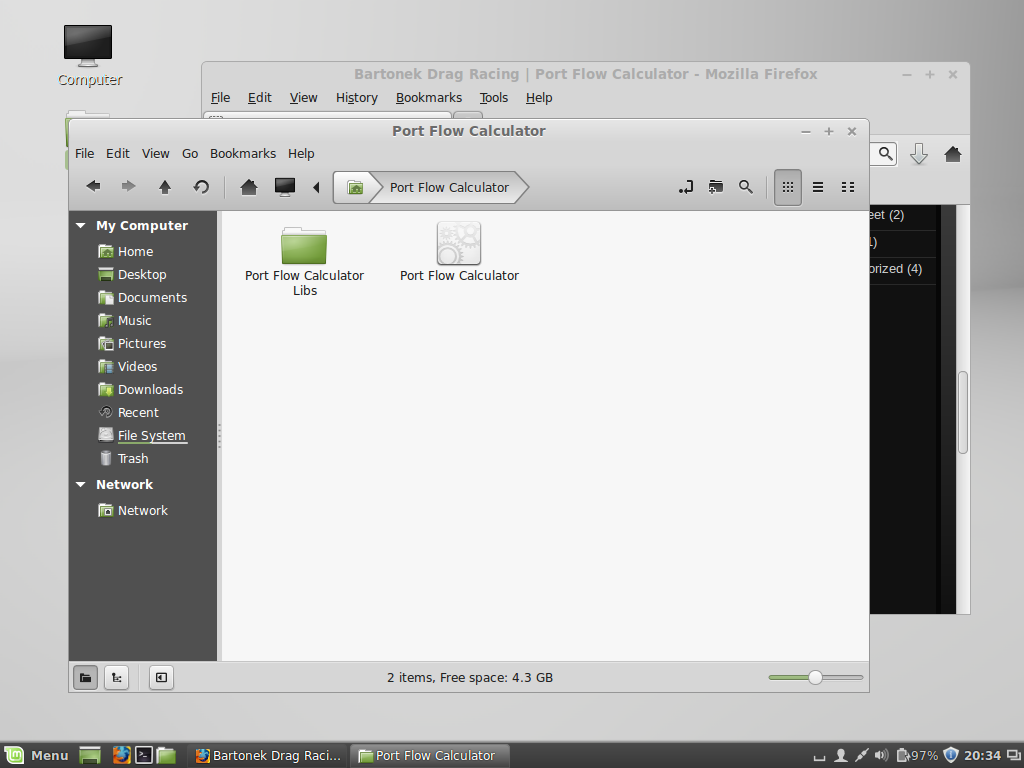
Double click on Port Flow Calculator to run it.
Port Flow Calculator on first run.