• So I sold the ’67 Chevy II and replaced it with another toy..

    I go thru “alot” of cars.  By alot I mean I dunno, I put ’em together, I like it, get tired of it and sell it…then the cycle restarts and I get something else.  This will probably be the last one for a while..until I get tired of it. One thing for sure, I’m going to run the shit out of it at the track!  LOL!

    Here’s the next project..needed to replace a few parts since they wouldnt work on the street and/or were just crap parts.  Doors had lexan along with the windshield, hood was junk.   Bought some doors off of a Camaro with manual windows and had a new windshield installed and also replaced the rear bumper cover.

    Specs on the Camaro:
    1991 Camaro
    4 link Back halfed
    Ford 9″ with 35 Spline Moser Axles, 4.30 gears
    12 point certified cage to 8.50 that is current
    Halon fire system
    Pro Bandit pistol grip shifter with shiftnoid
    Built driveshaft
    I also picked up a 6.0L LQ4 engine out of a 2004 Chevy 2500 pickup truck and a TU2 Cam from Speed Inc.  I’m having the engine rebuilt at Kendrick Automotive.  In addition to this, I also picked up a Borg Warner s475 turbo.

    Here’s a few under construction pics..

    resized-20140118_202802resized-20140119_121715 resized-20140119_121613resized-20140124_204019IMG_20140210_125954272IMG_20140210_122938442 IMG_20140210_125541573 resized-20140119_154516  resized-20140119_121731 resized-20140119_121751 resized-20140227_104816cam    resized-20140124_220242


  • TH350 Selector Shaft seal replacement

    Probably one of the easiest seals to replace on a TH350.  It’ll take you about 10 minutes if you do it right.  Now now..you dont go around telling the ladies how easy this is.   What you gotta do is hype it up.  First things first.  Go get the biggest hammer you have, a sledgehammer is OK.  Walk in to where your significant other is at, lay that bad boy down and sip on your favorite beverage while throwing out this task you’re fixing to tackle.  If all goes according to planned, it looks like there’s some serious ass kicking thats about to occur.  Yea, lay it down thick.   Head on out to the garage, jack up that hotrod and then get the sledgehammer.   Find a piece of metal laying around in the shop/garage and take a few good whacks at it as if you’re trying to win some sort of strongman contest, your significant other will be impressed upon hearing that racket.  Once you’re done, follow along in the pics on how to replace the seal.

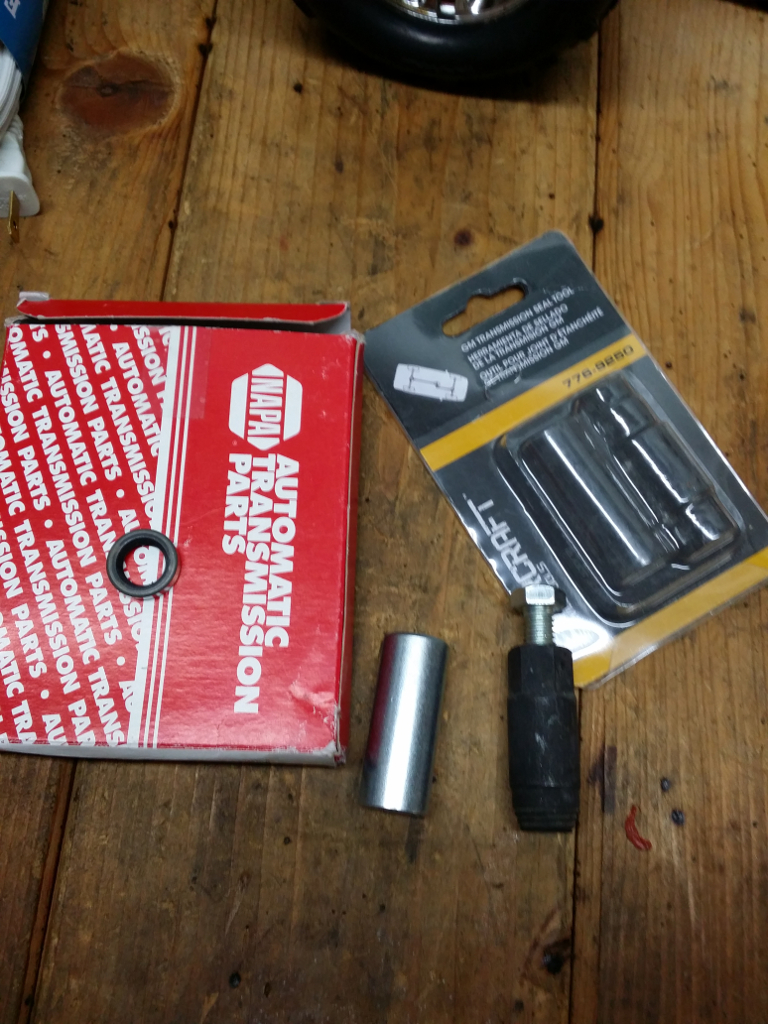
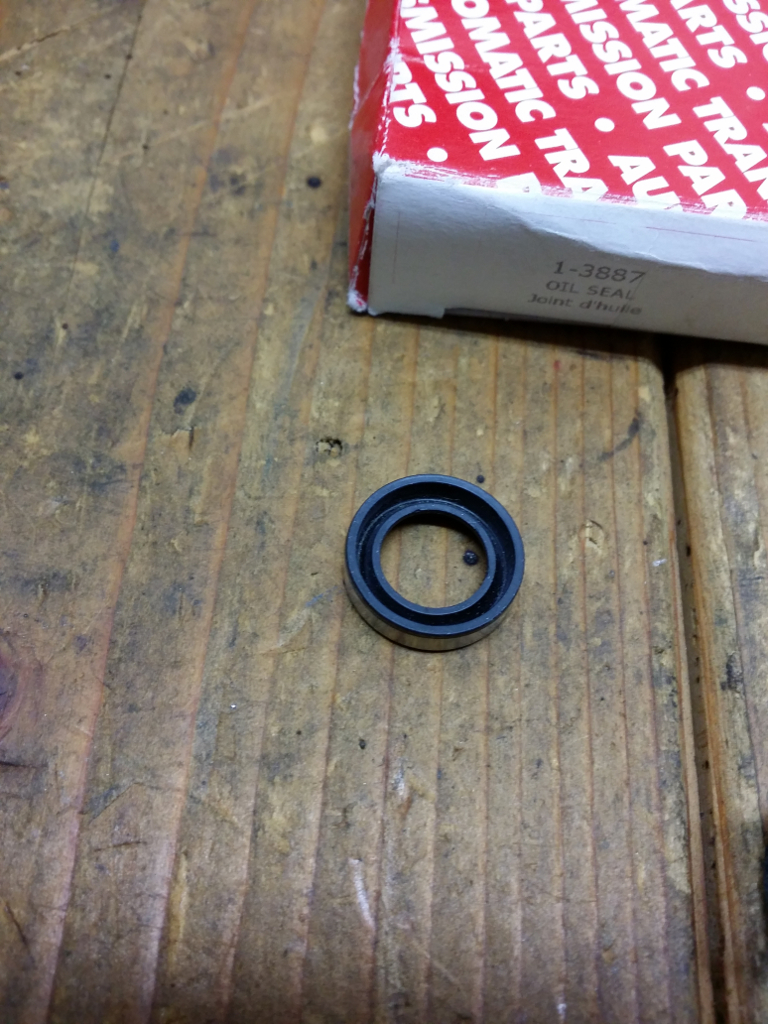
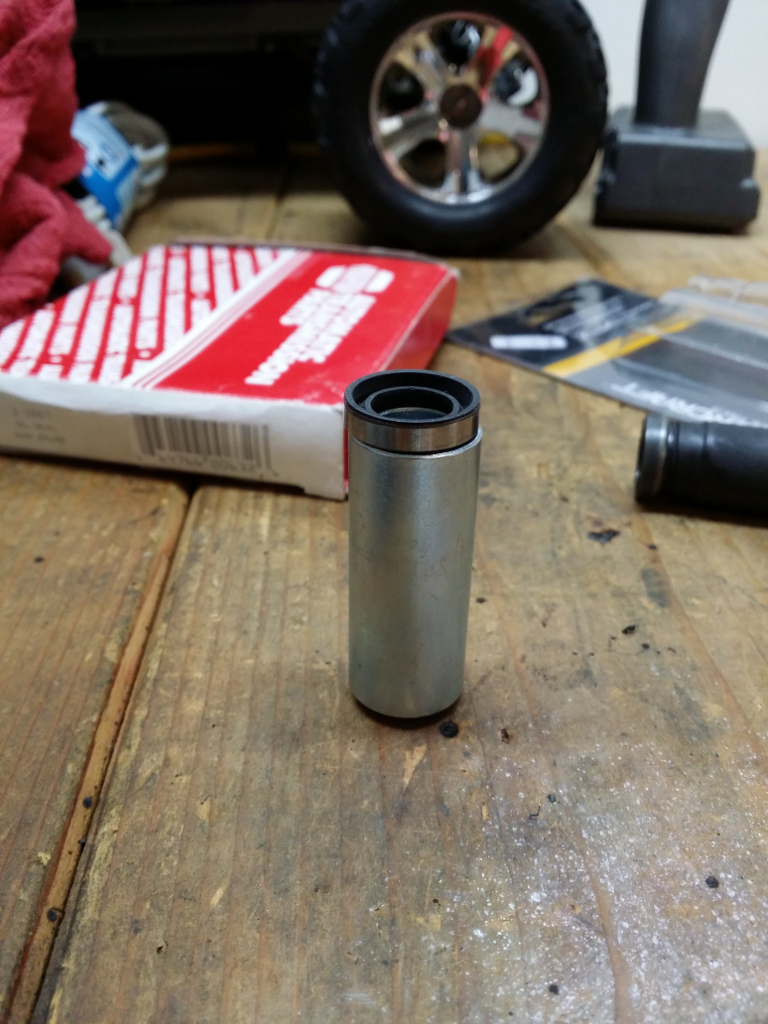
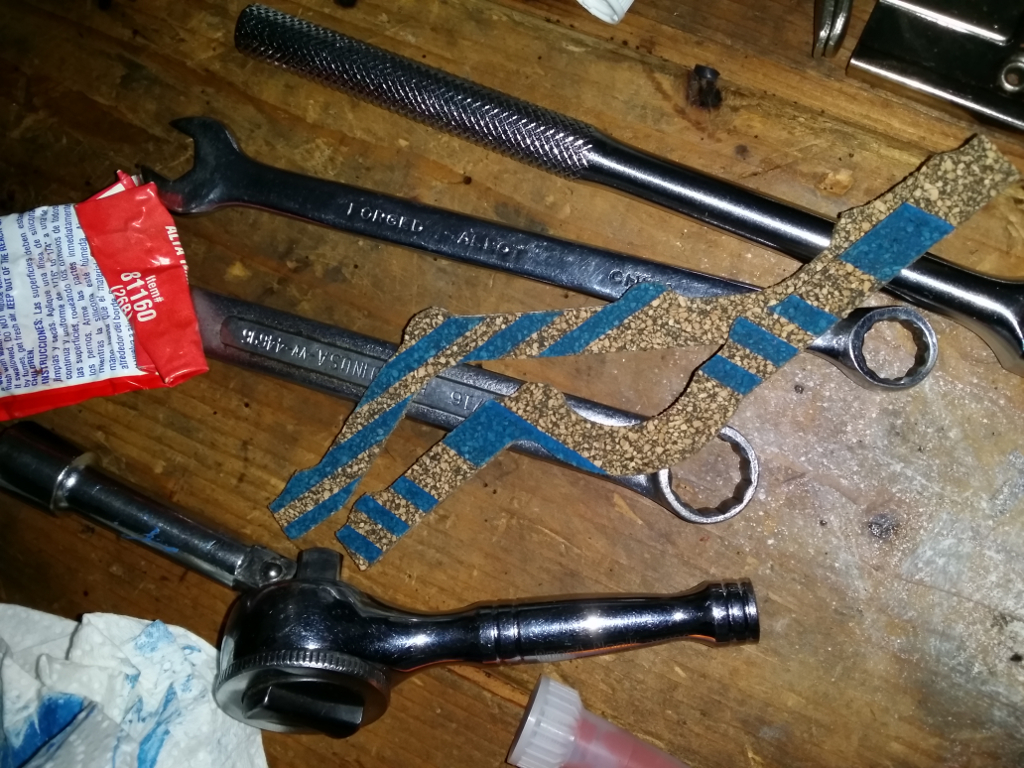
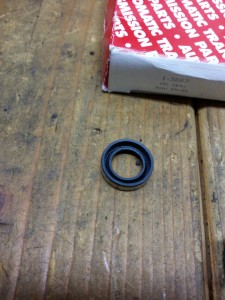
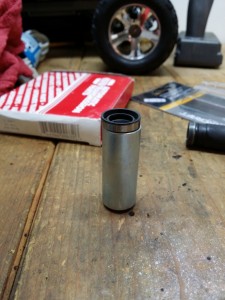
    You’re going to need two parts, a selector shaft seal, part # 1-3887 and the Selector Shaft seal removal tool, part #776-9250.  I bought both from NAPA.  Total price was around $10.  Left side, obviously, the seal.  To the right of the seal, the silver tool is the tap which goes over the shaft and will be used to install the seal.  To the right of the tap is the actual seal removal tool which is threaded on one end and has a bolt on the other end.

    20131123_183205

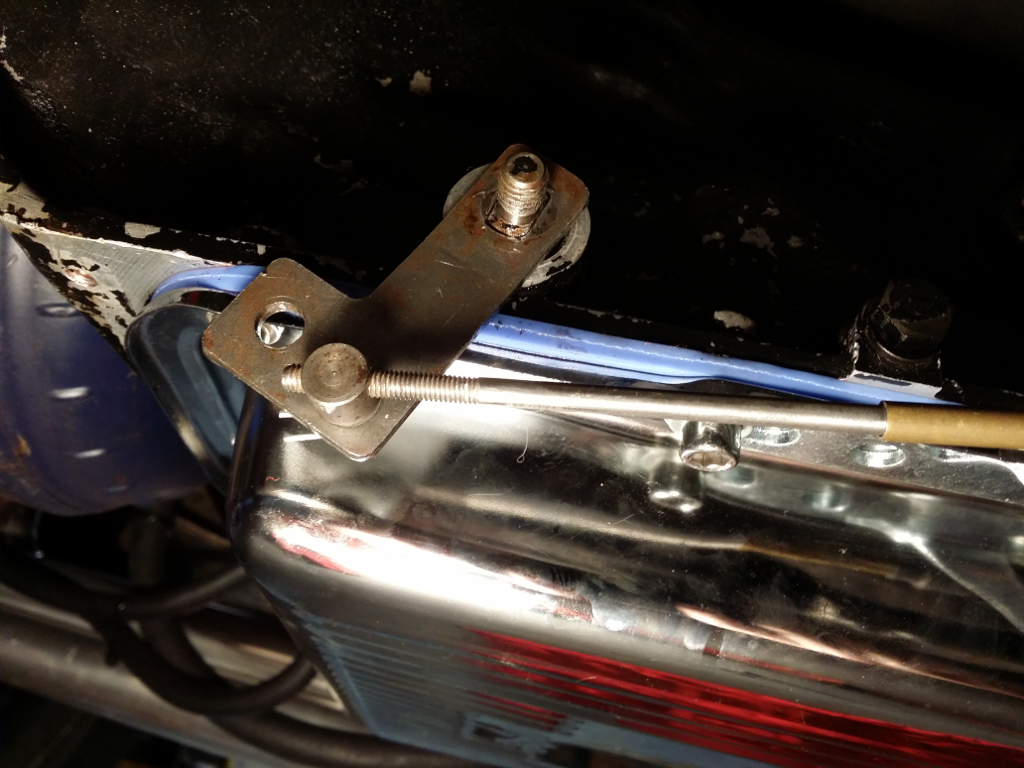
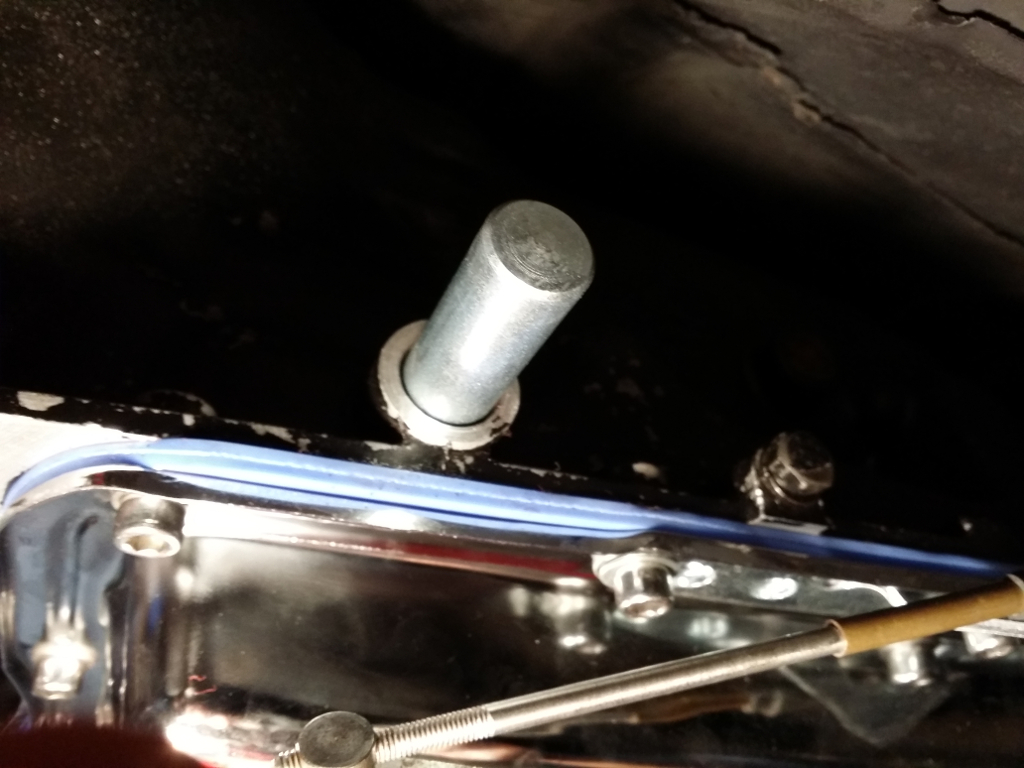
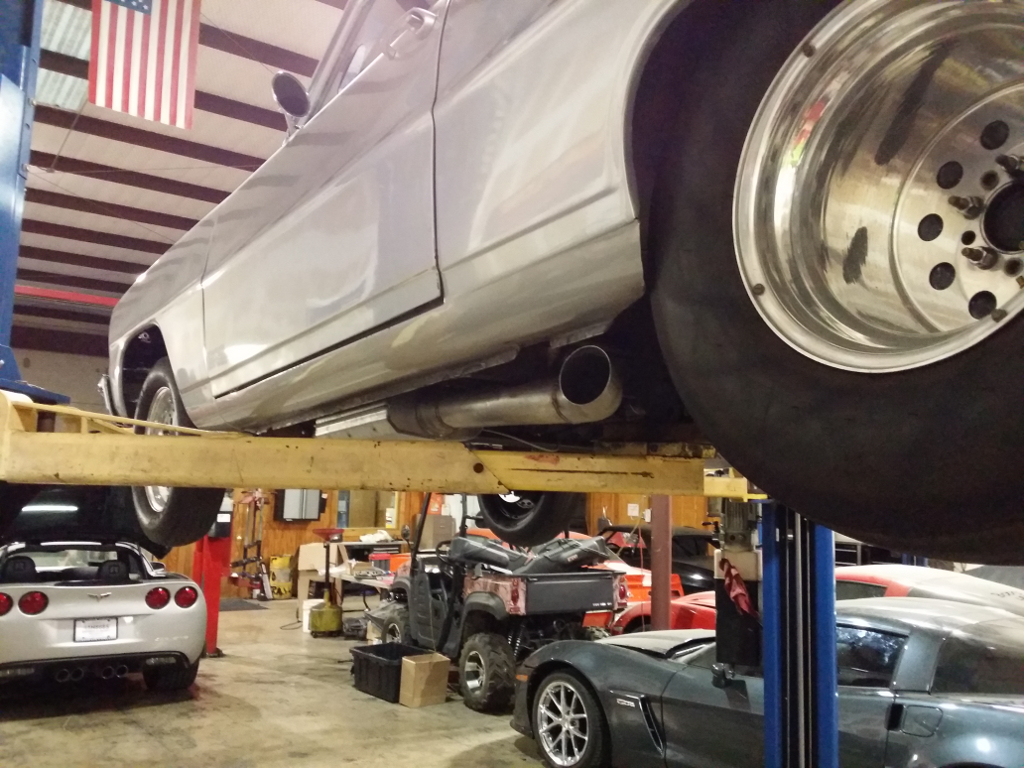
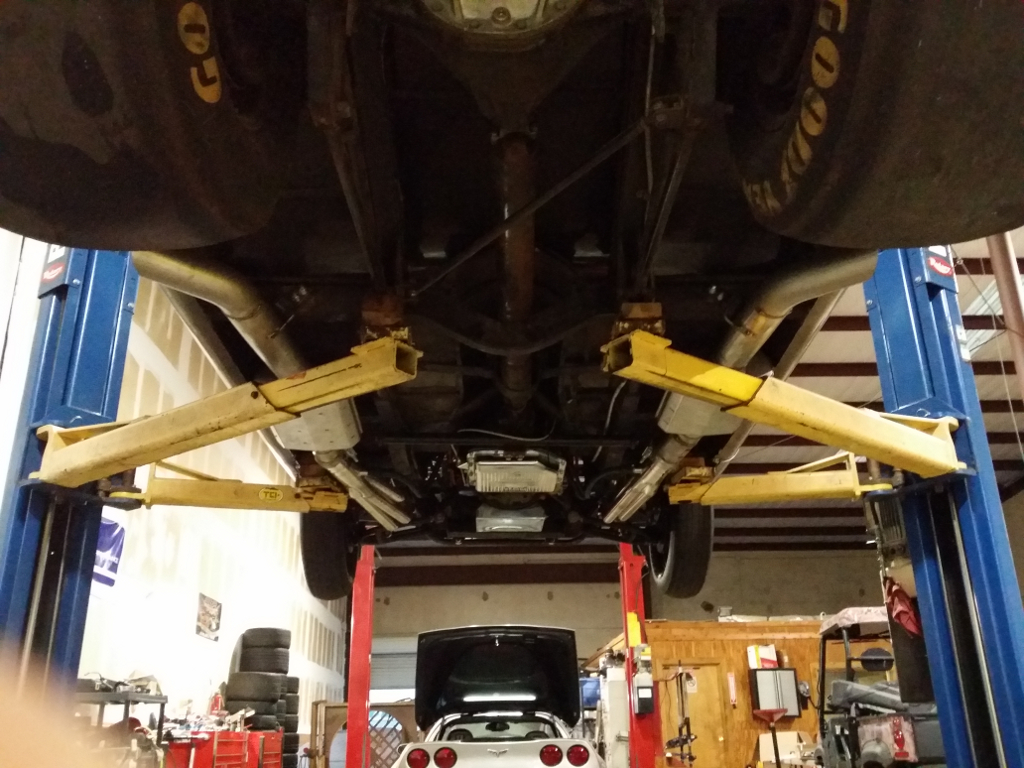
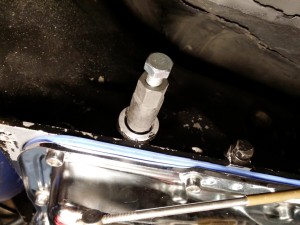
    Get under your car and remove the shift lever from the shaft by removing the nut on the end of the selector shaft.  Just that.  Nothing else.  It will pop off and you’re done with that part.

    20131123_183842
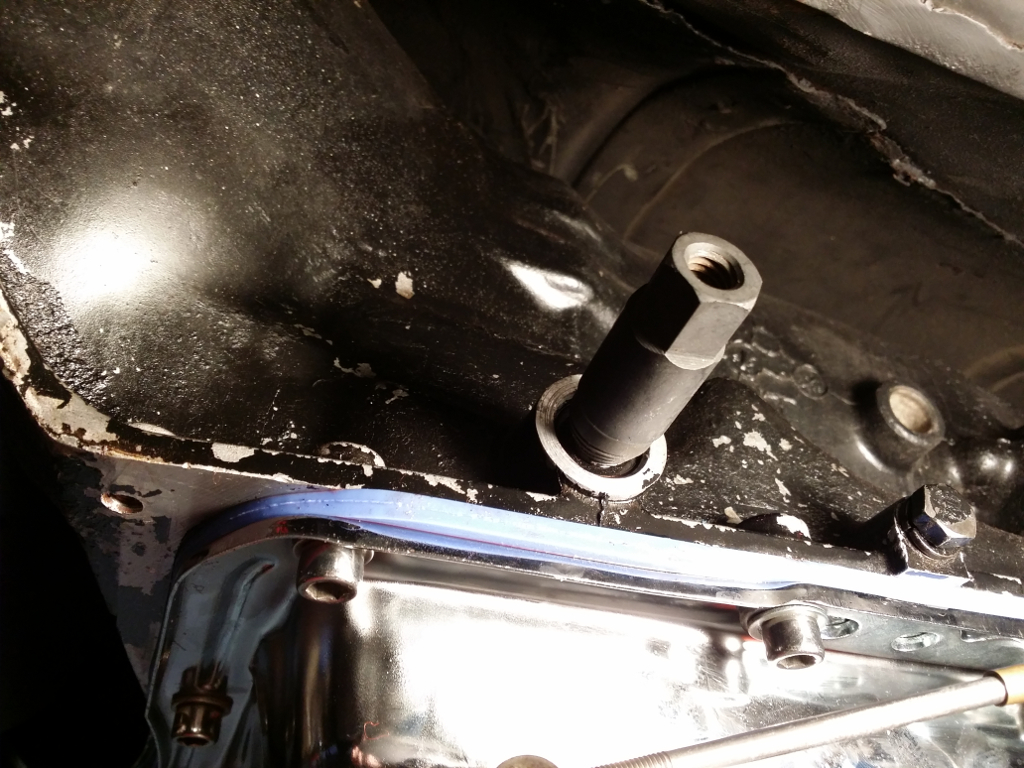
    Get the Selector Shaft seal removal tool and slide it over the selector shaft.  Make sure its aligned so you dont scuff anything up.  You may need to tap on it to get it to contact the selector shaft seal.  Once on, get a box end wrench and screw it on to the seal until virtually all threads are thru.  I had maybe 3 or 4 threads on the selector shaft seal removal tool showing.

    20131123_184610


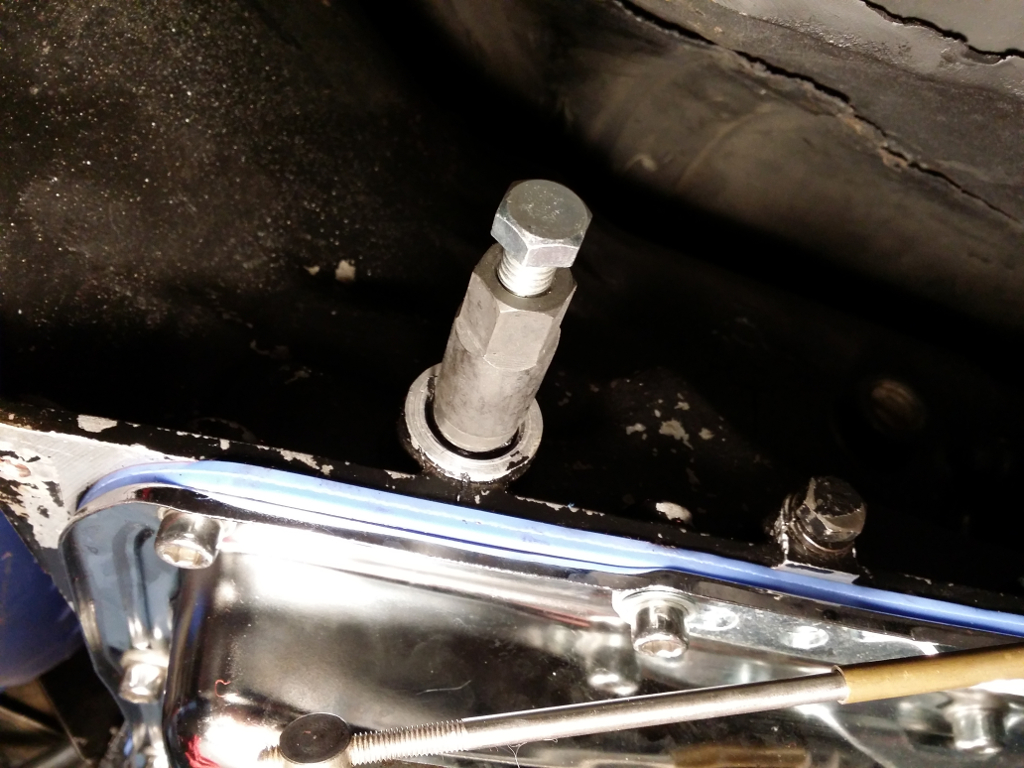
    Go get the bolt and screw it into the seal removal tool until it bottoms out on the selector shaft.  Once there, get a box end wrench and tighten that bolt.  This motion will cause the seal removal tool to remove the seal from the trans.

    20131123_18491220131123_184110


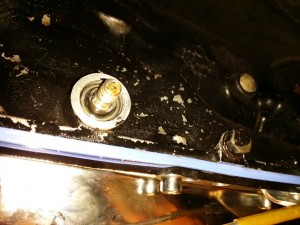
    There…voila!  Seal removed.  Next up is installing the new seal.   The tapered end, pictured below, goes first.  You will use the supplied tap to install it.  Pic on the right shows how it basically goes.

    20131123_18412320131123_185421


    Slide the seal over the shaft and use the tap to install the seal.  Make sure its aligned properly.  Use a hammer to gently coax it in.  It wont fall through into the trans if thats what you’re wondering.

    20131123_185724


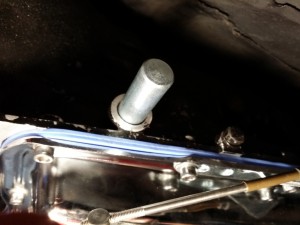
    Your install is complete.  Just reinstall the shift lever and the nut.   Drink a few brews and brag to your significant other.

    20131123_190033


  • SBC Intake replacement, redux.

    Well…in my previous post where I swapped intakes, I had a small leak around the water ports.   Tried it twice.   After looking at it and heading to my local machine shop, Kendrick Automotive, the determination was made that the intake was milled.  It was noticeable after comparing it to another Victor Jr..  It could have been used anyway by utilizing thicker intake gaskets.   While I was there at Kendrick Auto, they have a new and used parts section where Tommy directed me to a ProComp intake, pictured below.  It is essentially a clone of a Super Victor intake from Edelbrock.   After reading reviews, its actually a pretty damn good intake.   Well, I picked it up, painted it and installed it.  The same installation procedure went into this one as the previous intake swap post, so you can follow the steps there.  I did have to reset timing by hand..might put up a few pics on how to do that.


    20131118_160905 20131118_17592620131119_171643


  • SBC Edelbrock Performer intake to Victor Jr intake upgrade

    Originally this 406ci SBC came with a 650 Holley and a Edelbrock Performer dual plane intake.  Pretty restrictive if you ask me.  I ended up installing a Holley 830 and it was time for the intake to be replaced.  Here’s a few pics of that process.


    Initially, the dual plane intake just looks ugly because its dirty.  Performance wise, a 406 will make a little more HP with a single plane intake.  I cleaned up and painted the Victor Jr a high-temp silver.

    20131028_17083420131020_09423520131028_184744


    After removing the distributor, alternator bracket, carb and various things that were in the way…time to remove the old intake gasket and seals.  To keep trash out of the valley I just used some shop rags and vacuumed out whatever slipped past the shop rag.

    20131030_17122920131030_172133


    After installing the intake gaskets which are being held in place with a small dab of blue sealant, its time to seal the front and rear where the intake will rest.  Dont want any oil leaks.   Oh..and the 2 cork gaskets you get with your gasket set, throw them away.  On all 4 corners where the head meets the block, make sure you get sealant there also.  I’ve seen a simple job like this turn messy because of a pinhole leak in those areas.

    20131102_15403720131102_154058


    These two..just go ahead and throw them away.

    20131102_153359


    Carefully line up the intake and place it on the engine.  This pic shows my distributor installed.  Didnt take a pic of the intake being installed.   Torque specs are 25# and pattern in the next image and in addition to this I used a little bit of thread sealer on the ARP bolts to make sure we dont have anything leaking past the bolts.

    20131103_082026 torque_pattern


  • Upgrading the alternator bracket

    Originally I had picked up an alternator bracket because low mount brackets didnt work with either my water pump or my rack and pinion setup.   It wasnt the best looking thing, but it worked.


    IMG_20130915_121502_466


    Ended up finding this alternator bracket on Amazon for $55.  I was kinda hesitant since it didnt have any reviews until I put mine up.   Well it worked like a charm.  On two of the allen head bolts, my allen head socket didnt quite fit.  Looked like a machining issue, but after digging around in my toolbox I found one that “would work”.  Worst case, buy the same bolts from your local hardware store and still save $$ over buying a March alternator bracket.  Here’s a few pics of the parts and the after…

    20131108_203516 20131108_212015


  • Car show at the Forum

    There were C6 and 1 C7 Vette at this car show but I wasnt interested in taking pics of them.   Here’s a few of the rides I liked…had a good time listening to the stories of their respective owners also.


    2013-10-19 20.13.24 resized-20131019_144659_Richtone(HDR) resized-20131019_144723_Richtone(HDR) resized-20131019_144916_Richtone(HDR) resized-20131019_145214_Richtone(HDR) resized-20131019_150005_Richtone(HDR) resized-20131019_150012_Richtone(HDR) resized-20131019_150022_Richtone(HDR) resized-20131019_150135_Richtone(HDR) resized-20131019_150146_Richtone(HDR) resized-20131019_150239_Richtone(HDR) resized-20131019_150310_Richtone(HDR) resized-20131019_151001_Richtone(HDR) resized-20131019_151012_Richtone(HDR) resized-20131019_152054_Richtone(HDR) resized-20131019_152109_Richtone(HDR) resized-20131019_152120_Richtone(HDR)